
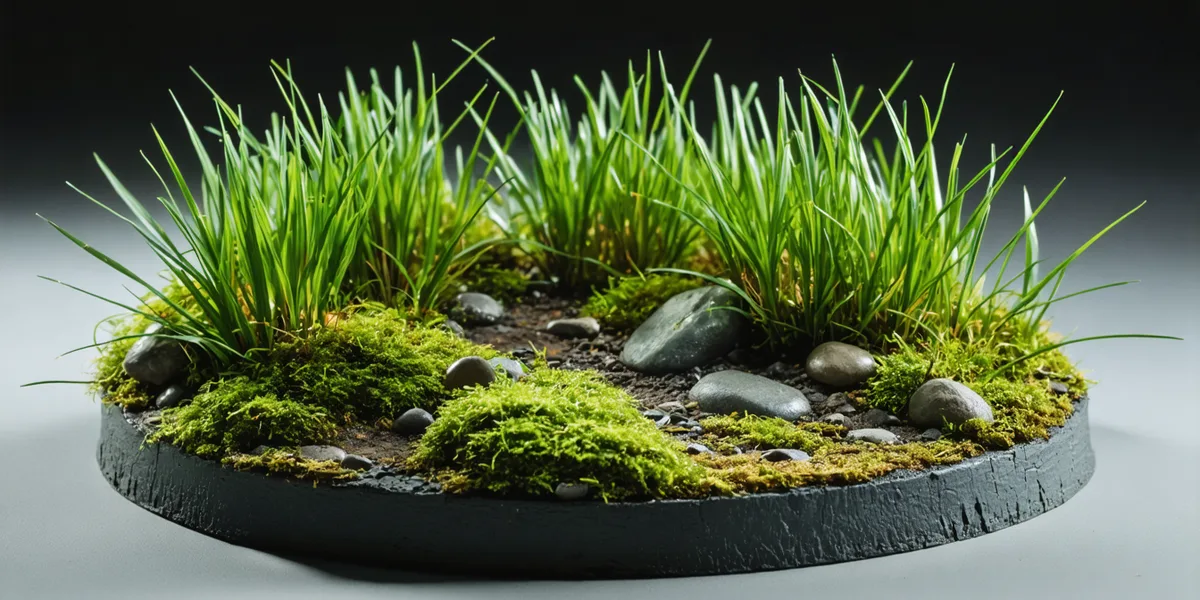
Sprinkle static grass onto a glued base with your fingers and you get a smear - flat, matted fibres that read as green fluff. Fire the same fibres out of an applicator and they stand up like a lawn. That is the whole pitch, and it is a real one: the difference is visible from across a table. Whether it is worth a device is the question this guide answers.
Why the fibres stand up
Static grass is not grass. It is a short synthetic fibre - usually nylon or viscose - cut to a set length and given a coating that takes an electrical charge.
An applicator is a small high-voltage generator with a mesh sieve at one end and an earthing wire at the other. You clip the earthing pin into wet glue on the base, load the sieve, and switch on. The fibres pick up a charge, repel each other, and jump towards the earthed point - landing on end, in the glue, and setting upright as it dries. Static grass planted this way keeps a bit of the shimmer and directionality of the real thing, because every fibre is standing rather than lying.
Hobby applicators run from a 9V battery and put out a very high voltage at a very low current, which is why they are legal to sell as a toy-adjacent hobby tool. It still stings, and it is still a spark source: keep it away from spray cans, thinners and varnish, and do not let children run one unsupervised.
The two kinds of device
We hold both shapes on the basing materials shelf.
- The handheld wand. The Green Stuff World Portable Static Grass Applicator is the standard form: a long-bodied unit with a sieve head you hold above the base and shake. It is the one to buy if you are grassing models, because you aim it. The trade-off is mess - anything that misses the base ends up on your desk, so work over a shallow tray or a sheet of paper you can pour back into the pot.
- The flock box. The Green Stuff World Grass Flock Applicator Box is an enclosed chamber. You put the work inside, which keeps the fibres contained and makes it the better tool for producing your own tufts in batches, or for grassing loose scenery pieces and terrain boards. It runs at a lower voltage band than the wand, and it is not a pointing tool.
If you are buying one device and only one, the wand is the more generally useful. If you already know you want to make sheets of custom tufts to a colour recipe nobody sells, the box is the one that pays for itself.
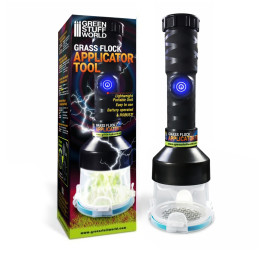
Handheld electrostatic flock applicator, 9V
Green Stuff World
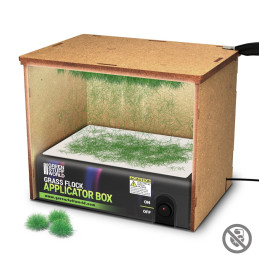
Electrostatic flock box for making tufts and bushes
Green Stuff World
The DIY flyswatter, honestly
The community's home-made applicator is real, it works, and it predates most of the commercial units. An electric fly swat is exactly the same circuit: a battery, a step-up transformer, a high-voltage mesh. Painters strip the mesh, solder a wire to one terminal for the earthing pin, and cable-tie a tea strainer or a sieve to the other.
Two honest caveats. First, it is genuinely a bit of electronics work - you are soldering onto a live high-voltage stage, and a swatter that has been charged holds that charge in a capacitor after you switch it off. Discharge it before you open it, and do not attempt it if that sentence was new information. Second, the commercial units are not just a swatter in a nicer shell: the sieve mesh is chosen for fibre length, and the earthing lead is long enough to clip to a base rather than dangle. The DIY route saves money and is a satisfying afternoon; it is not obviously the cheaper option once you have bought a swatter, a strainer and a soldering iron.
Fibre lengths, and what reads right at 28mm
Length is the decision that most affects how the base looks, and the one beginners get wrong by buying a single pot.
- 2-3mm - the workhorse for 28mm heroic scale. Reads as cropped field or trodden turf, and it is short enough that it will not tangle in a model's ankles. If you buy one pot, buy this. The Green Stuff World 2-3mm flocks run through the same colour set as the longer cuts, so you can match across lengths.
- 4-6mm - meadow and overgrowth. This is the length that most obviously looks like static grass has been applied, and the one to use for tufts and clumps rather than whole-base coverage. Spring Grass 4-6mm is the default green.
- 9-12mm - long grass, reeds, marsh edges. At 28mm this is knee-to-waist height on a model, so use it sparingly and in clumps: Hayfield Grass 9-12mm makes a convincing overgrown ruin, and a base covered in it makes the model look like it is drowning.
- Longer than that - fibre stops behaving electrostatically and becomes a material you cut and plant by hand. Woodland Scenics' Field Grass is the classic version: natural fibre, roughly 2.5 inches, trimmed to length with scissors after gluing.
Colour matters less than length, and the fix for both is mixing. A pot of one flat green is the tell; two lengths and two or three shades stirred together in the sieve is what stops a base looking like carpet.
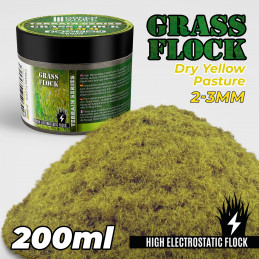
Electrostatic static grass, 2-3mm fibres, 200ml
Green Stuff World
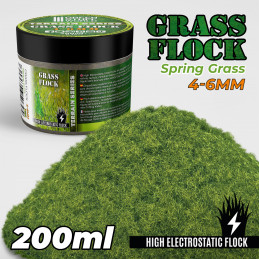
Electrostatic static grass, 4-6mm fibres, 200ml
Green Stuff World
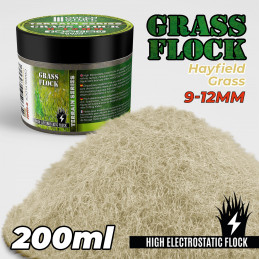
Electrostatic static grass, 9-12mm fibres, 200ml
Green Stuff World
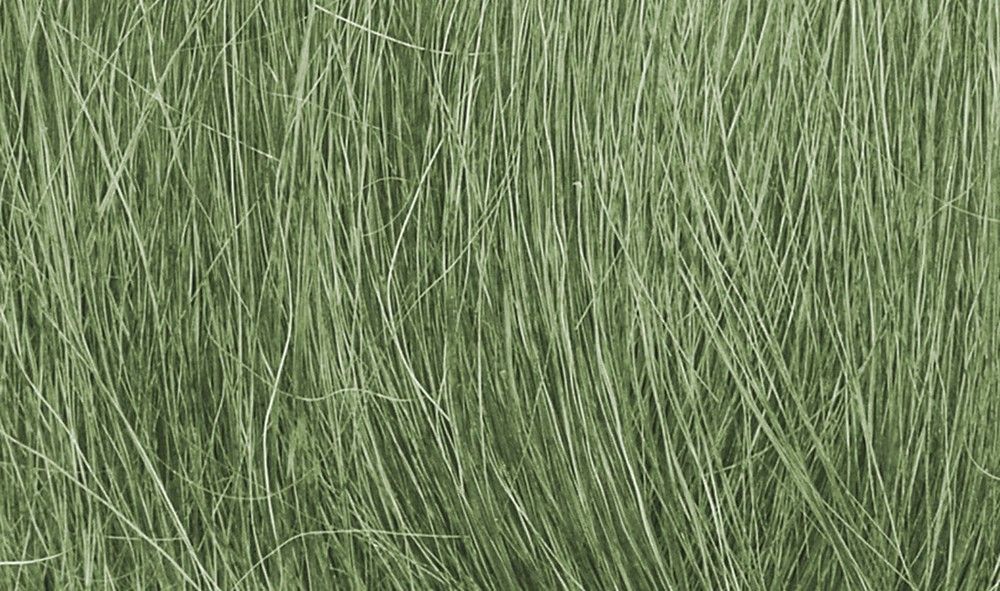
Long natural grass fibre, about 2.5in, for tall grass
Woodland Scenics

The technique
- Base the model first. Texture, basecoat, drybrush, wash - all of it. Grass goes on last, over finished groundwork, which is the sequence in our basing guide.
- Glue in puddles, not a coat. PVA, or a purpose-made high-tack glue like Green Stuff World's Tuft Glue, dabbed in irregular patches. Grass grows where it can, not everywhere: leave bare earth around footprints and rubble and the base will read as a place.
- Earth into the wet glue. The pin must touch the glue itself, not the plastic rim. This is the step people skip, and it is why their fibres lie flat.
- Work from above, and go twice. Hold the sieve a couple of inches up and shake. Let the first pass tack off, then hit it again - the second pass plants into gaps the first left and thickens the mat.
- Tip off the loose fibres back into the pot once dry, then a light drybrush of a pale sand or bone over the tips ties the grass to the rest of the base.
- Layer. Short grass everywhere, then a puddle or two of the longer cut in the corners, then a tuft. Three heights on one base is what separates hobby-grade grass from a shop demo model.
Tufts: the no-applicator answer
For most painters, most of the time, tufts are the better purchase - and it costs a fraction of a device to find out. A tuft is static grass already applied, standing up, on an adhesive backing. You peel and press.
- Army Painter Battlefields tufts come in three sizes per pack across a wide colour range - Woodland, Highland, Swamp, Winter, Wasteland and more, all on the same shelf.
- Citadel Colour Tufts pack 125 tufts in four different cuts, on a notably strong adhesive backing.
- Green Stuff World's 22mm XXL tufts are the oversized option for big bases and terrain.
The honest comparison: two tufts per base takes seconds, looks good, and covers a multitude of sins. An applicator only starts to win when you are doing a whole army to one recipe, when you want a colour or length nobody bags as a tuft, or when you would rather make your own tufts by the sheet than buy them.
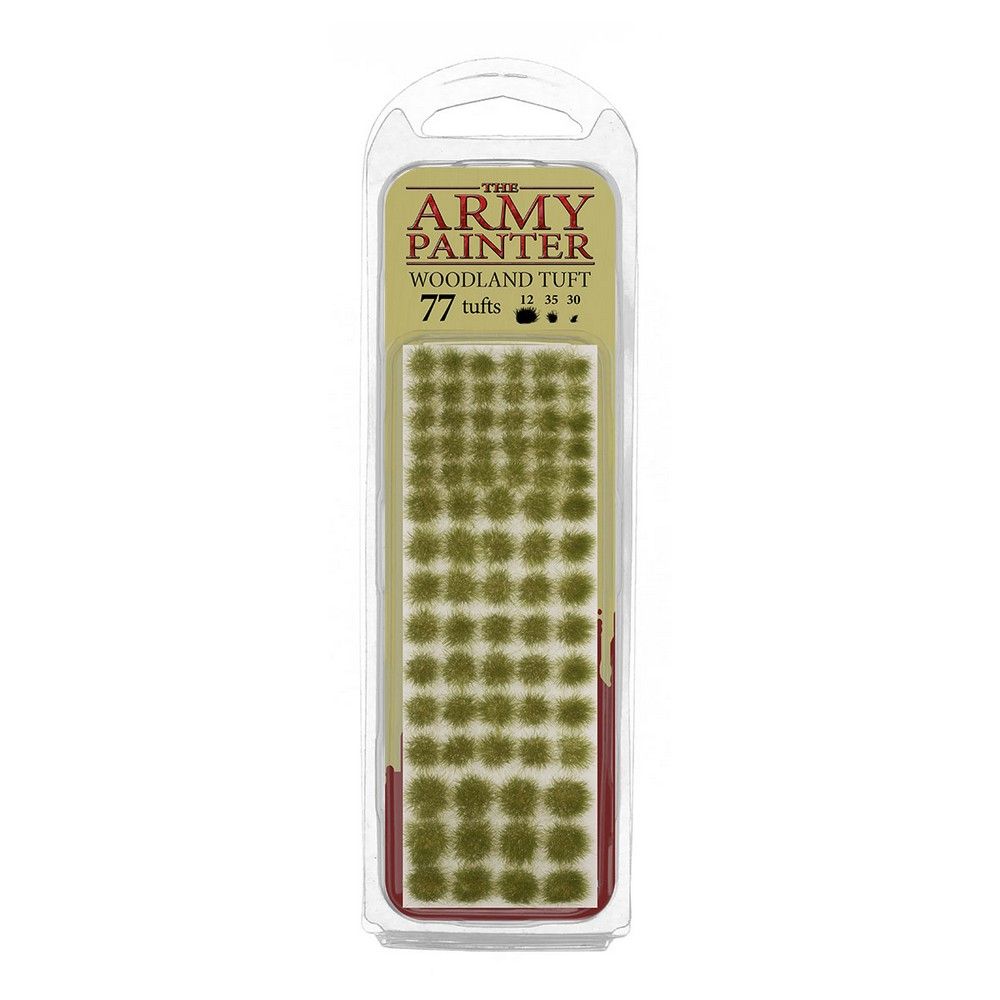
Army Painter Battlefields tufts, three sizes per pack, glued to the base
Army Painter
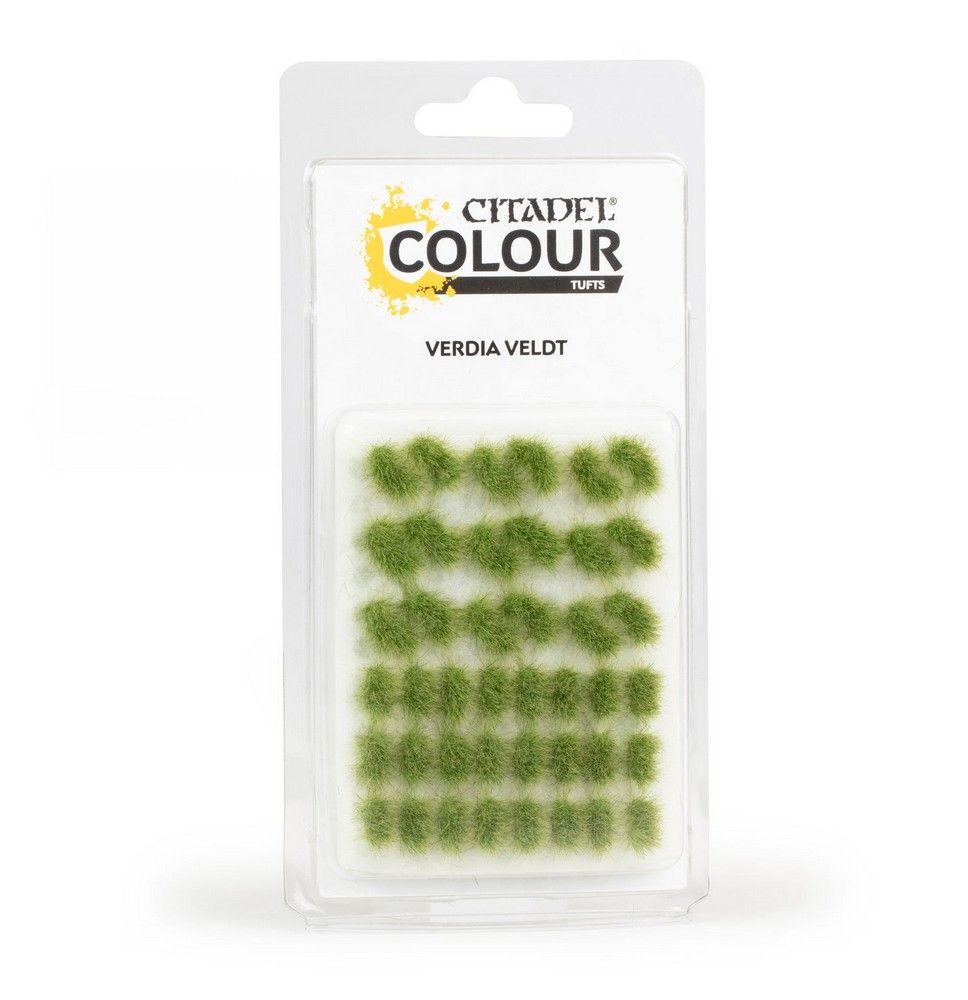
125 adhesive-backed grass tufts in four cuts, for bases and scenery
Citadel
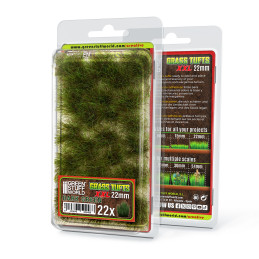
Self-adhesive 22mm grass tufts for bases
Green Stuff World
The rest of the base
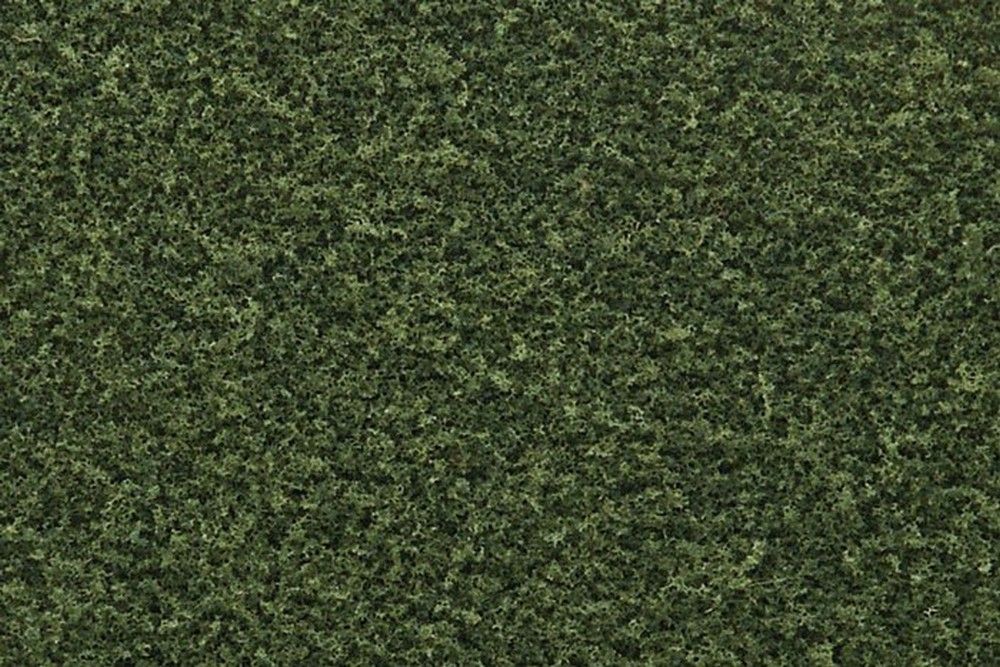
Grass is one layer of a system. Loose flock and ground foam - Woodland Scenics fine turf and their coarse grades - do the mossy, low, spreading work that fibres cannot. Gale Force Nine's Hobby Round static grass pots are the sensible small quantity if you want to try the material before committing to a 200ml tub. And if you are starting from nothing, the Army Painter Battlefields Basing Set puts sand, rocks, tufts, undergrowth, grass, snow and the glue in one box.
Everything above is on the basing materials shelf, priced across every shop we track.
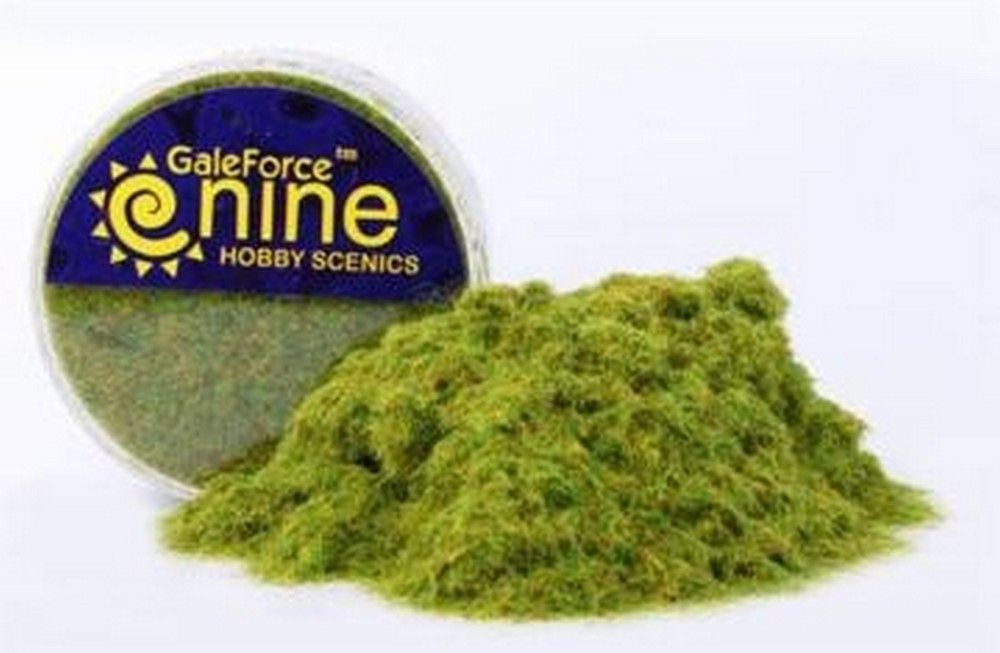
GF9 Hobby Round pot of static grass, flock, grit or snow
Gale Force Nine
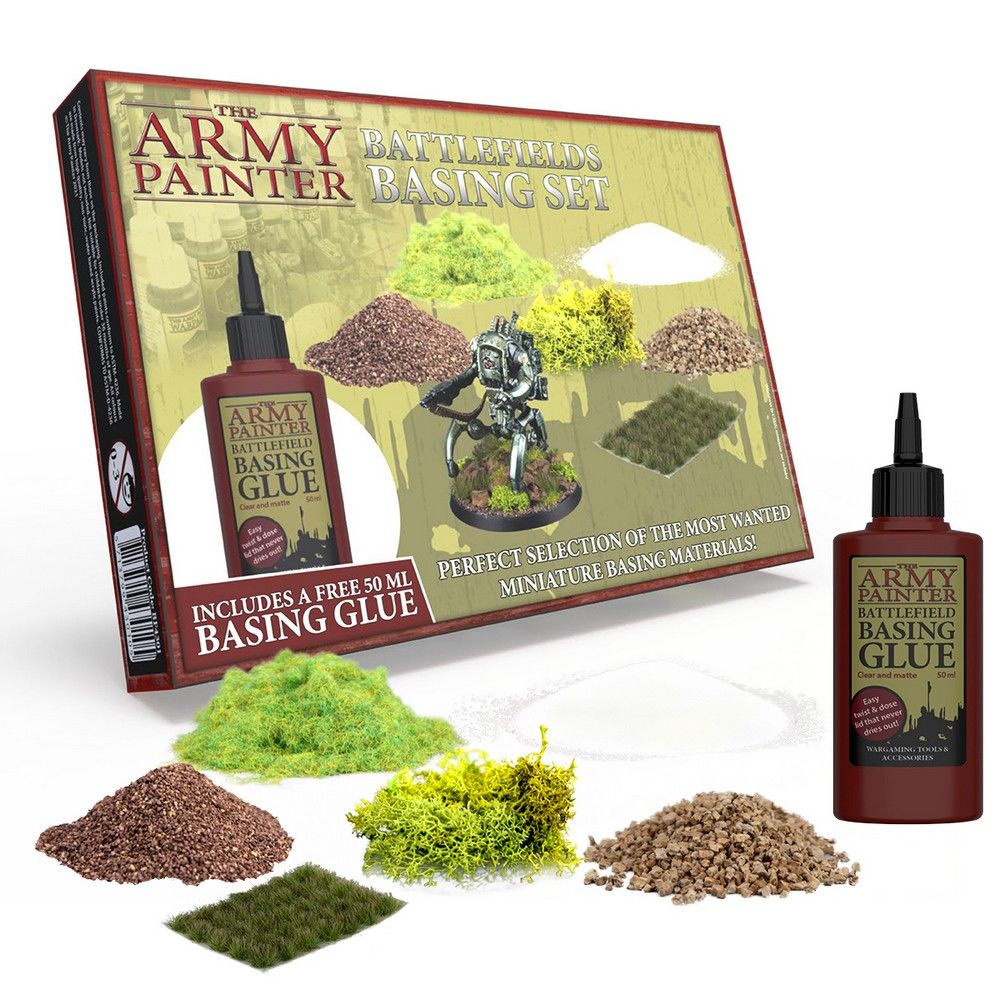
One-box basing set: sand, rocks, tufts, undergrowth, grass, snow and 50ml basing glue
Army Painter
Tips
- Buy the grass before the machine. A pot of 2-3mm and a pack of tufts will tell you whether you enjoy this enough to want a device.
- The earthing pin goes in the glue. Not near it, not on the rim. In it.
- Two lengths, two shades, minimum. One pot of one green is the single most recognisable beginner tell.
- Work over a tray. You will recover most of what misses, and you will not find fibres in your paint water for a month.
- Drybrush the tips in a pale bone or sand once dry - it kills the artificial uniformity of the fibre colour.
- Leave bare ground. Grass in patches reads as terrain; grass everywhere reads as carpet.
Shop basing materials
Static grass, tufts and applicators, compared across every shop we track.
We earn a small commission from qualifying purchases at no extra cost to you.