
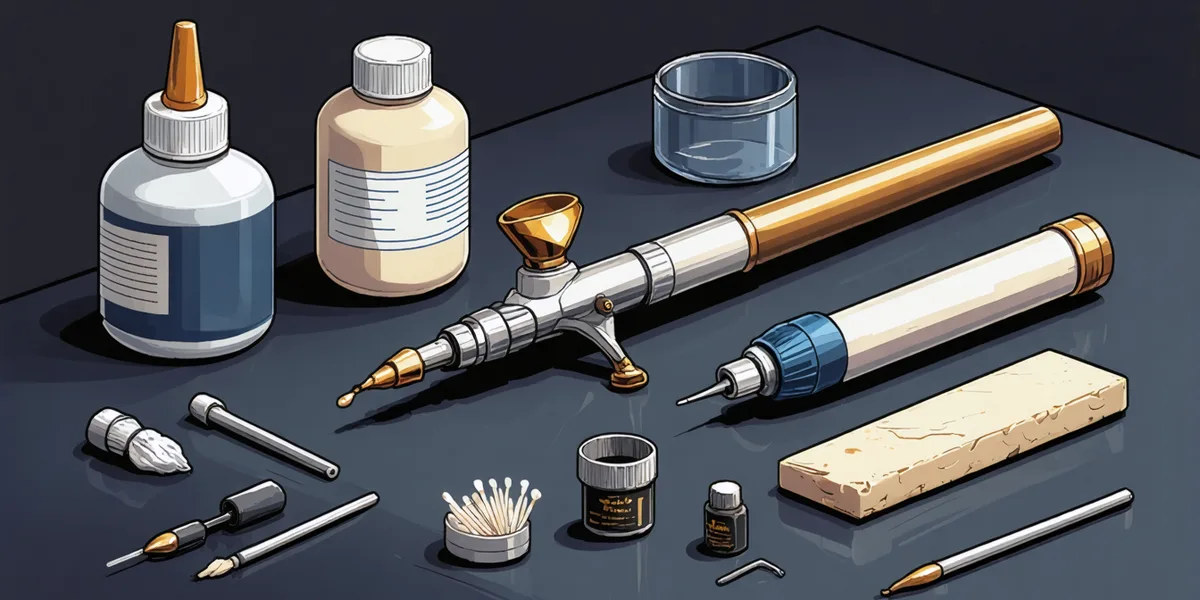
Almost every "my airbrush stopped working" story is a cleaning story. Spatter, tail-off at the start of a spray, paint refusing to flow, a trigger that sticks — nine times out of ten the cause is dried acrylic somewhere in the paint path, and the cure is a routine, not a repair. The good news: a proper airbrush cleaning routine takes about three minutes at the end of a session, and it is the same three minutes whether you spray an entry-level brush or an Iwata.
There are three levels of cleaning, and knowing which one a situation needs saves an enormous amount of time. Most painters do too little of the first two and then compensate with heroic, o-ring-endangering deep cleans.
Level 1: The Between-Colours Flush
Every time you change colour, and any time you pause for more than a few minutes:
- Wick out the leftover paint. Tip the remaining paint out of the cup, or draw it out with a pipette if you want to save it.
- Add cleaner or water, and backflush. Put a few drops of airbrush cleaner (or plain water for thin acrylics) in the cup, hold a folded paper towel over the nozzle cap, and pull the trigger. Air bubbles back through the cup, scrubbing the paint channel from the inside. Swirl, dump, repeat.
- Spray through until clear. Spray the last of the cleaner into a cleaning pot until what comes out is colourless mist.
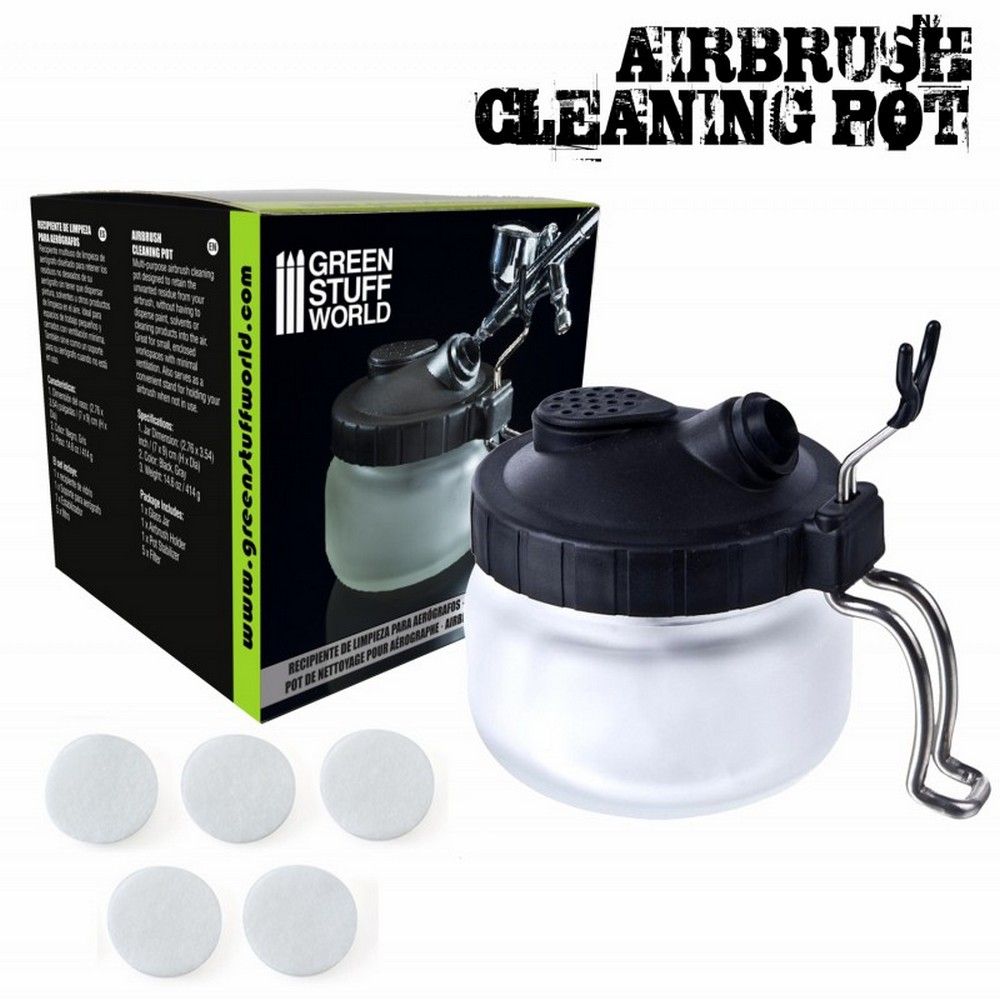
That's it. A cleaning pot matters more than it looks like it should: it catches the mist and the solvent smell that would otherwise hang in the air of the room you are sitting in, gives the brush somewhere to rest between colours, and stops the "spray it at a tissue on the desk" habit that ends with a fog of paint on everything within a metre.


Level 2: The End-of-Session Clean
When you finish painting for the day, do the flush above and then go two steps further:
- Flush with a proper airbrush cleaner, not just water. Water shifts wet paint; it does not shift the thin film that acrylics leave on the needle and the inside of the nozzle. A dedicated cleaner (Vallejo Airbrush Cleaner and GSW's equivalent are both cheap and last months) or isopropyl alcohol breaks that film down. Backflush it, spray it through, repeat until the towel wipes clean.
- Pull and wipe the needle. Loosen the needle chuck at the back, draw the needle out backwards (always backwards — pulling it forward through the nozzle drags dried paint into the tightest part of the brush), and wipe it from the back towards the tip with a towel dampened in cleaner. It should come away clean and feel perfectly smooth. Reseat it gently until it just touches the nozzle — never push it home hard.
- Wipe the cup. A cotton bud with a drop of cleaner gets the film out of the cup and the paint channel entry.
Done consistently, this routine means you may only need a full strip-down every few weeks of regular painting.
Level 3: The Deep Clean
For when spraying has degraded despite the routine, before a long storage break, or after a lumpy-metallics session:
- Strip the front end. Remove the needle first, then the nozzle cap and the nozzle itself. Small nozzles (0.2–0.35 mm) are the most fragile part of the whole tool — many are barely bigger than a grain of rice and cross-thread easily, so use the wrench that came with the brush, and stop at finger-tight plus a nudge.
- Soak the metal parts in cleaner. Nozzle, nozzle cap, needle cap — into a shot of airbrush cleaner or IPA for ten minutes. Do not soak the airbrush body: the trigger and air valve assemblies hold o-rings and seals that strong solvents attack, and the air passages hold onto liquid.
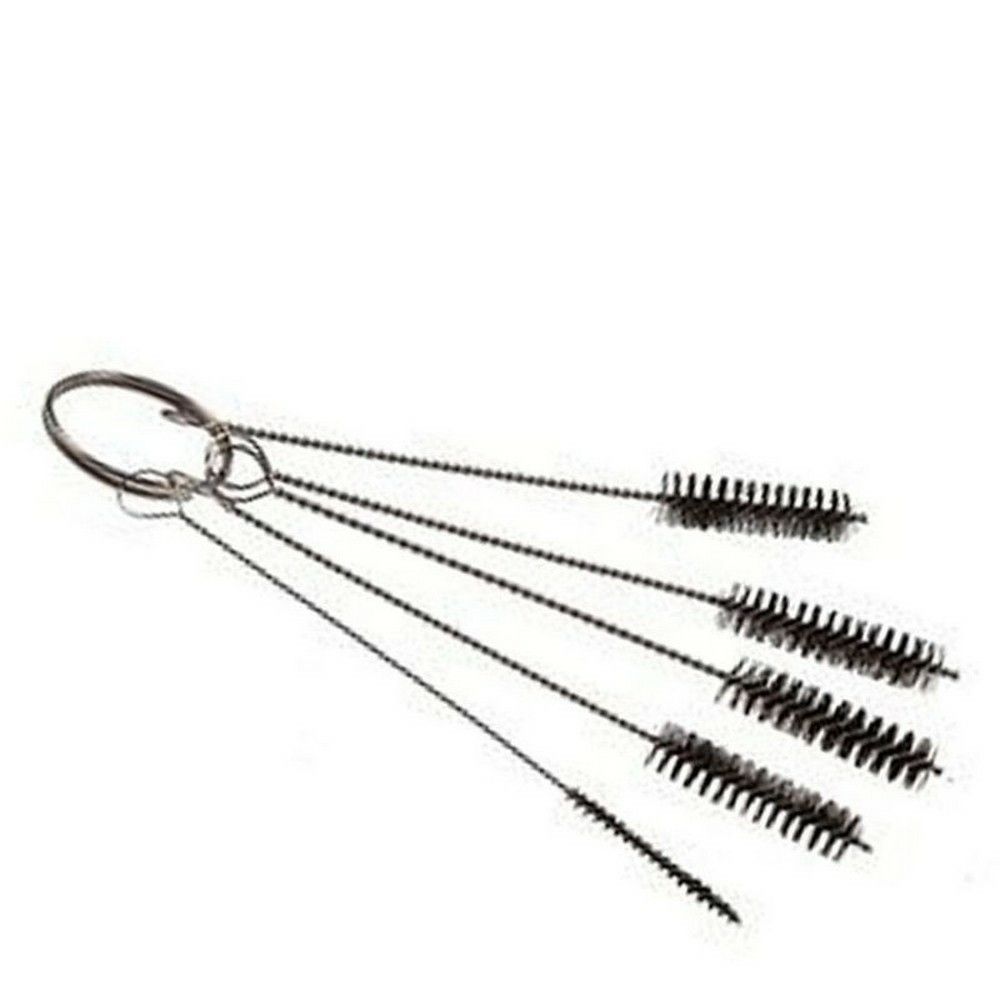
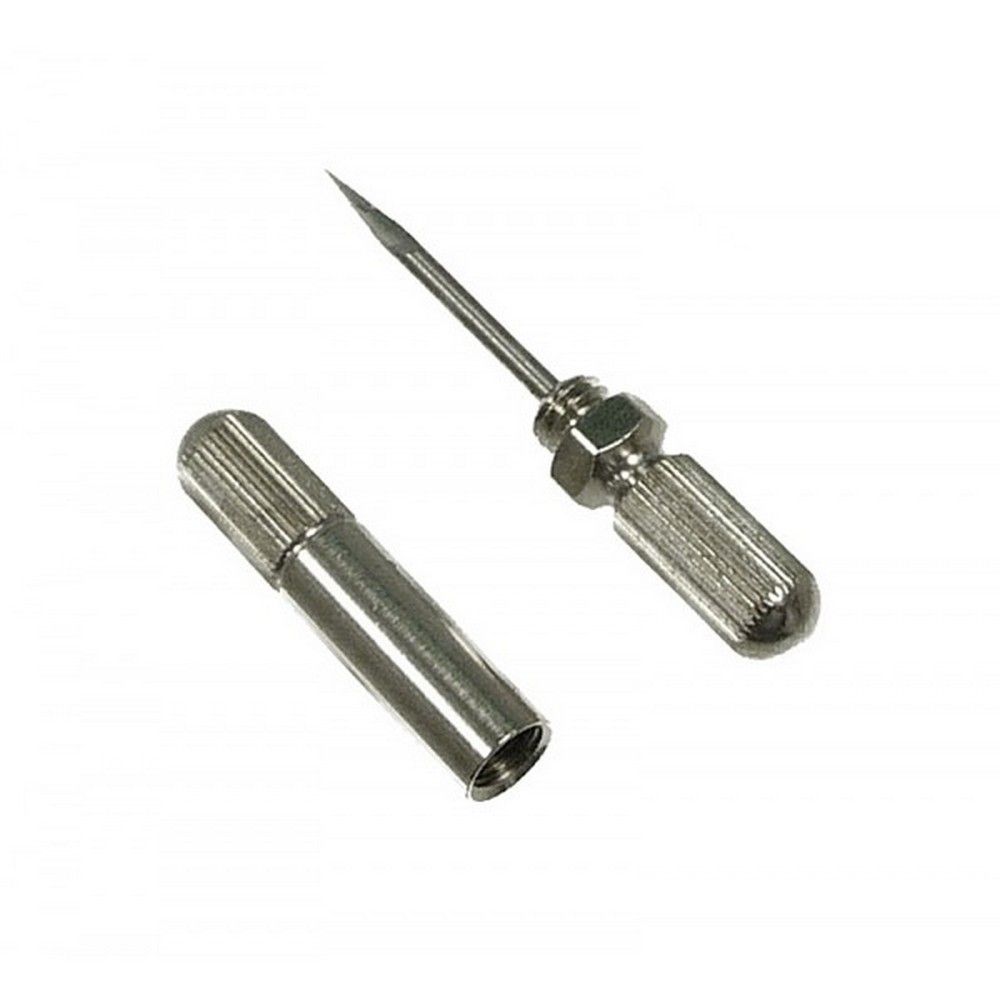
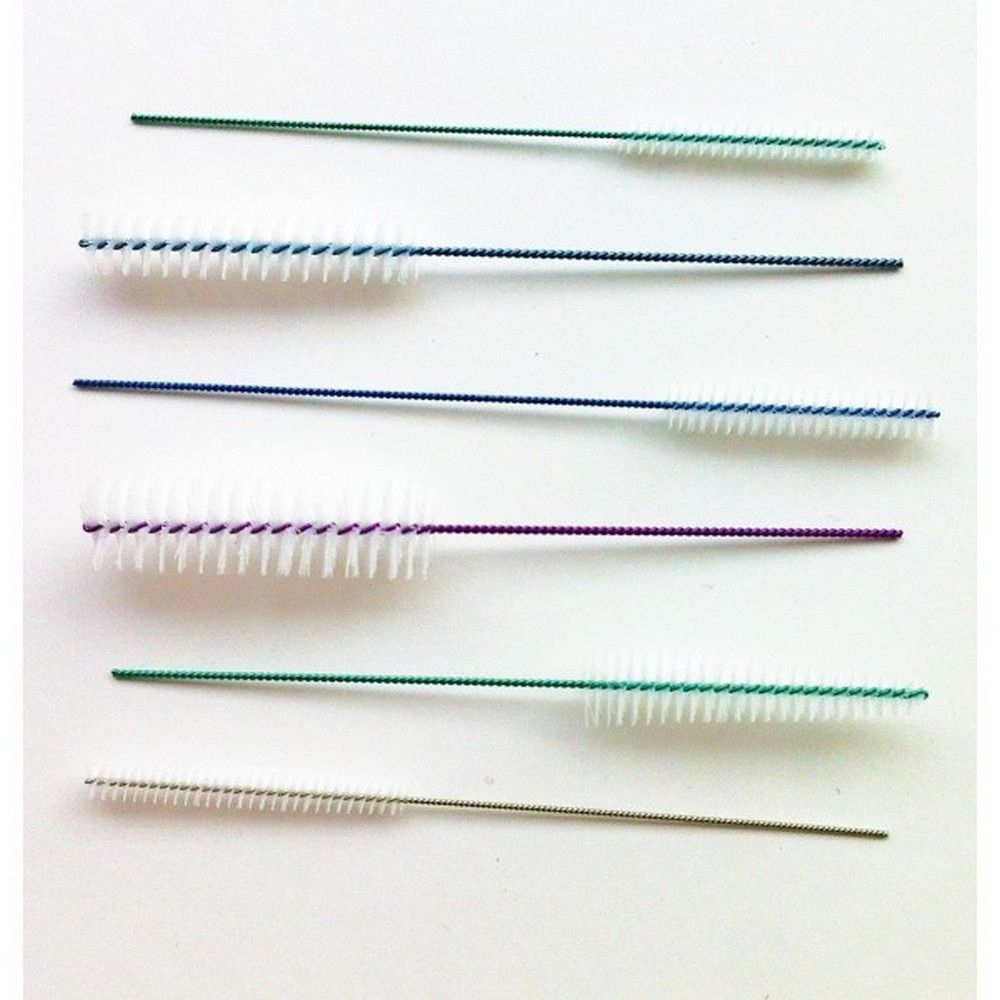
- Brush out the passages. A set of interdental-style cleaning brushes clears the paint channel and the inside of the nozzle cap. For the nozzle itself, a soak plus a gentle flush is safer than poking anything through it; if you must, use a proper nozzle cleaning needle rather than a pin.
- Reassemble wet-tested. Nozzle, nozzle cap, needle (backwards, gently), needle cap. Spray plain water first: a clean, centred cone of mist says you are done; spatter or an off-centre pattern usually means the needle is seated badly or the nozzle is damaged.
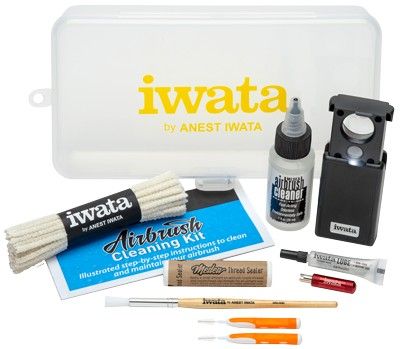
Brand kits bundle the fiddly parts sensibly — Iwata's cleaning kit and Harder & Steenbeck's brush set both cover the passage brushes, and H&S sell the nozzle set separately.
What Actually Causes The Common Problems
Tip dry — paint drying on the needle tip mid-session, causing spatter and tail-off. Not a cleaning failure: it is the nature of fast-drying acrylics. Wipe the visible needle tip with a damp brush or cotton bud every few minutes when spraying long sessions, and consider a drop of flow improver in the cup. See thinning paints — over-thick paint makes tip dry far worse.
Bubbles in the cup while spraying — air is escaping back up the paint channel, which almost always means the nozzle or nozzle cap is loose, or dried paint is holding the nozzle seal open. A Level 3 clean fixes it more often than a new nozzle does.
Trigger sticking — usually dried paint in the needle channel behind the cup, occasionally a dry air-valve o-ring. Clean first; if it persists, a tiny amount of airbrush lubricant on the needle and trigger stem (never ordinary oil — it ends up in your paint).
Metallics and primers — both are loaded with particles that settle into every crevice. Budget a Level 2 clean immediately after either, not at the end of the session. Polyurethane primers in particular will cure inside the brush if you let them sit, and cured primer does not come out with acrylic cleaner.
The Habits That Do Most Of The Work
- Never let paint sit in a loaded brush. Ten minutes is fine; an hour is a gamble; overnight is a deep clean.
- Thin your paint properly. Most clogs go in as clogs — paint too thick for the nozzle. Milk-consistency paint through a 0.35 mm nozzle rarely blocks anything.
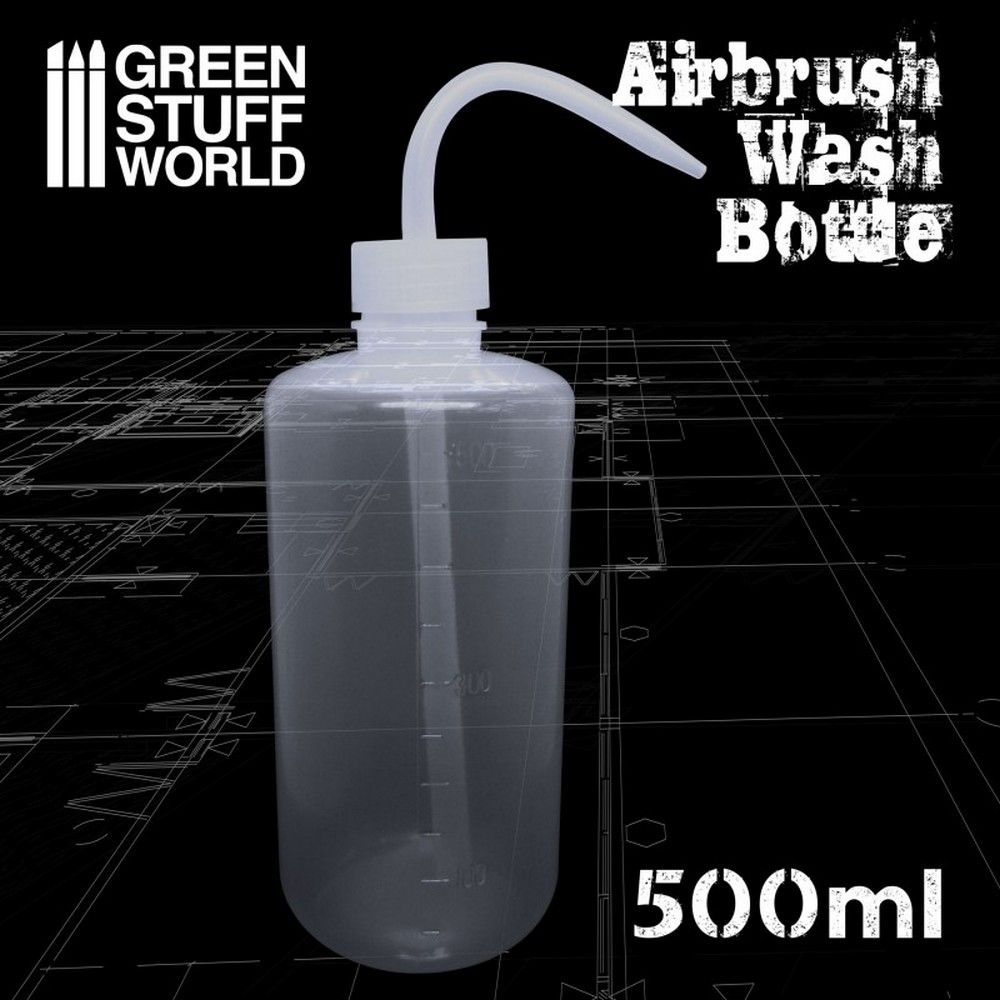
- Use a wash bottle. A 500 ml squeeze bottle of water or pre-mixed cleaner beside the desk makes the flush routine frictionless — the routine you actually do beats the perfect one you skip.
- Respect the nozzle. It is the most easily destroyed part of the brush. Finger-tight, correct wrench, never poke it with wire.
Cleaning products, spares and full cleaning kits from every shop we track are compared in the airbrushes section, alongside the Iwata, Harder & Steenbeck and Gaahleri ranges themselves.
Everything named on this page - pots, passage brushes, nozzle tools, wash bottles, moisture traps and holders - sits on one shelf with prices side by side: airbrush cleaning and air-path kit. And if water in the paint path is your real problem rather than dried acrylic, that starts at the machine: best airbrush compressor for miniatures.