
Non-metallic metal - NMM - is painting a gold sword, a steel breastplate or a silver helm using ordinary matte paints, with no metallic pigment anywhere on the model. The shine is painted on: you place the reflections by hand, in flat colour, the way an illustrator would.
It has a reputation for being the hardest technique in miniature painting, and that reputation is half earned. The brush control is no harder than edge highlighting. What actually makes NMM difficult is that it asks you to decide something first - where the light is coming from - and then hold that decision across every metal surface on the model. Get that right and a modest set of greys and browns will out-photograph the best metallic paint on the shelf. Get it wrong and it looks like beige armour.
This guide covers the theory, two practice exercises worth doing before you touch a miniature, and full step-by-step recipes for gold and for steel in four ranges - Vallejo Model Color, Citadel, Army Painter Warpaints and Scale75 - with every pot named and priced.
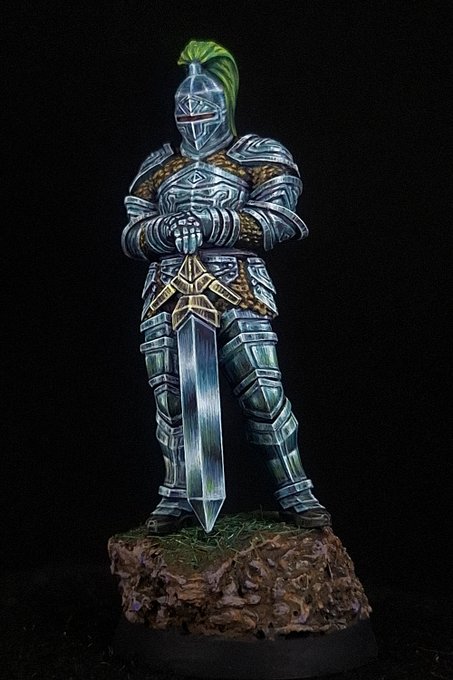
Painted by Catlord Miniature Painter
What non-metallic metal actually is
Metallic paint contains flakes of mica or aluminium suspended in the medium. Those flakes catch real light and bounce it back at you, which is why a metallic pot looks like metal in the pot. Non-metallic metal has no flakes at all. Instead you paint the pattern that metal makes when it reflects its surroundings.
That pattern is the whole technique, and it is made of four things:
- Extreme contrast. Real metal is a mirror. A mirror shows you the dark ground and the bright sky in adjacent patches, so polished metal runs from near-black to pure white within a few millimetres. Almost every failed NMM attempt failed because the ramp was too short.
- Hard transitions in some places, soft in others. Cloth has soft shading everywhere. Metal has a sharp horizon line where it flips from reflecting the ground to reflecting the sky, and soft gradients either side of it.
- A repeated highlight. Metal catches light more than once on a curved surface - the main reflection near the light source, and a secondary bounce on the opposite edge from light coming off the ground.
- Colour, not just value. Steel is not grey; it is cool blue-grey in shadow and near-white at the glint. Gold is not yellow; it is dark brown in shadow, ochre in the body, and cream at the glint. The hue shifts as the value climbs, and that shift is what sells the metal.
The paints below are ordinary matte acrylics. Nothing in this guide needs a special product.
Vallejo
Vallejo
Vallejo
Vallejo
Vallejo
Citadel (Warhammer Paints)
NMM or true metallic metal - which should you paint?
True metallic metal (TMM) means using actual metallic paints and shading them, usually with a dark wash and a brighter metallic highlight. Both are legitimate; they are good at different things.
Choose TMM when you are painting an army, when the models will be seen on a table under a normal room light, or when the metal is a small proportion of the model - buckles, rivets, gun barrels. Real metallic flake reads instantly as metal from three feet away, and a squad of ten takes an evening rather than a week. Modern metallics like Leadbelcher, Plate Mail Metal and Vallejo's Gunmetal are excellent and thin well.
Choose NMM when the model is a display piece, a character, or anything that will be photographed. Metallic flake photographs badly - it either blows out to a white smear or goes flat and grey, because a camera flattens the very reflections that make it work. NMM photographs exactly as painted. It is also the only option when you want the metal to sit inside a stylised, illustrated-looking scheme.
The honest middle ground: paint most of the model TMM and do NMM only on the one big flat surface - a sword blade, a shoulder pauldron, a shield face. Mixed on the same figure they read fine, because the eye reads the pattern of reflections rather than the pigment.
The one rule: decide where the light is, and never move it
Before a brush touches the model, pick a light source and write it down. The convention is directly above and slightly in front, as if the model were standing under a ceiling lamp - about eleven o'clock if you are looking at the model's face.
Everything follows from that single decision:
- Surfaces facing the light go brightest. The top edge of a pauldron, the upper face of a blade, the top of a helm.
- Surfaces facing away go darkest - near-black, not mid-grey. Undersides, the lower half of a shield, the inside of a gauntlet.
- The horizon line falls where the surface turns from up-facing to down-facing. On a curved surface this is a soft but definite band; on a flat panel it is a hard edge.
- Add a bounce highlight on the bottom edge. Light reflecting off the ground catches the lowest lip of the metal. This one step does more to make NMM look like metal than any other, and almost everyone skips it.
- One glint, in pure white, and only one. Put it at the single point closest to the light source - usually a corner or the crest of a curve. Two glints on one surface halves the effect of both.
The trap is inconsistency. If the sword blade is lit from the left and the breastplate from the right, the model reads as a mess even though each part looks fine on its own. Hold the light source across everything, including the metal you paint two weeks later.
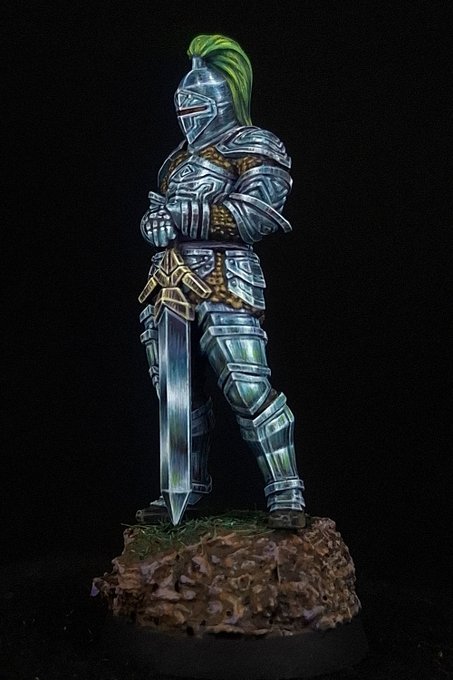
Painted by Catlord Miniature Painter
Practise on a sphere and a cylinder first
This is not optional advice. NMM on a real miniature is hard because miniature geometry is complicated; NMM on a sphere is easy because a sphere only has one answer. Painting the two shapes below teaches the whole technique in about an hour, and it is the fastest path to a good result on an actual model.
The sphere. Draw a 40mm circle on a piece of primed card or paint a spare bead. Then:
- Fill the whole circle with your mid-tone.
- Darken the bottom two-thirds towards near-black, softly.
- Put a bright, roughly circular patch in the upper left, about a quarter of the way in from the edge.
- Add a thin crescent of bright colour hugging the bottom rim - that is the ground bounce.
- A single white dot in the centre of the bright patch.
You now have a chrome ball. That is the entire vocabulary of NMM: dark mass, bright patch, bounce crescent, glint.
The cylinder. Paint a strip 10mm wide and 40mm long. Run a bright vertical band down it about a third of the way across, with the rest fading to dark at both long edges and a thin bounce line along the right-hand edge. That is a gauntlet, a pauldron rim, a mace haft, a gun barrel - every tube on every model.
The flat panel. A sword blade is two flat planes meeting at a ridge. The plane facing up takes a light-to-dark gradient running along the blade; the plane facing down is dark with a bounce line at the cutting edge. Nothing on a blade is uniform.
A cheap set of five greys is all you need for the exercises, and they are the same pots that later do your steel.
Vallejo
Vallejo
Vallejo
Vallejo
Vallejo
Vallejo
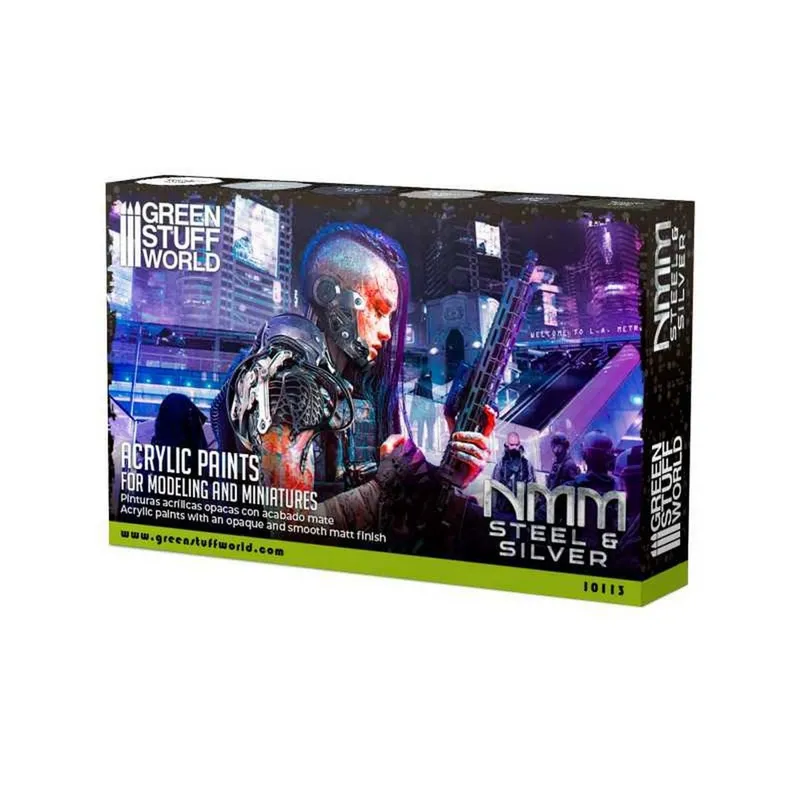
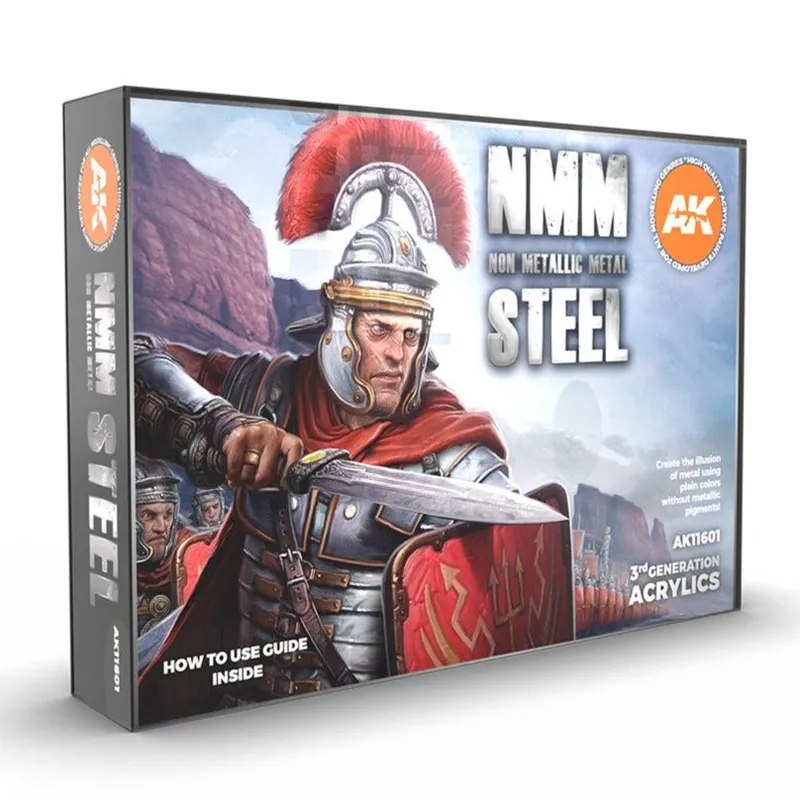
If you would rather buy that ramp than assemble it, both sets below are built as steel ramps rather than as loose greys, so the steps are already spaced for you - and the same pots do the practice shapes and the armour that follows.
NMM gold, step by step
Gold is the metal most people want and the one that goes wrong most often, for a single reason: gold is not yellow lightened with white. Adding white to yellow gives you a chalky lemon-green that reads as painted plastic. Gold is a warm ramp: dark brown in the shadows, a red-brown and ochre body, a saturated yellow through the midtone, then cream and only finally pure white. The hue shifts from brown to yellow to cream as the value climbs, and never passes through grey.
The method, whichever range you use:
- Basecoat the whole metal area in the mid-brown step. Two thin coats.
- Glaze the shadows down to the dark brown and then to near-black at the deepest points - the undersides and the recesses. Build this in several thinned passes, not one.
- Lay the body colour - the ochre - over everything facing up.
- Build the yellow into the upper third of each surface, keeping the edge between yellow and ochre soft on curves and hard on flat panels.
- Cream on the top edge, tight and small.
- Bounce line in the cream colour along the bottom lip of each surface.
- One pure white glint per surface, at the point nearest the light.
- Optional warm glaze. A very thin brown or orange glaze over the finished midtones unifies the ramp and kills any chalkiness.
The Vallejo Model Color gold ramp
The classic, and the one most tutorials are built on. Model Color's browns and ochres are matte, finely pigmented and blend beautifully, which is exactly what a long ramp needs.
- Deepest shadow: Black, or Chocolate Brown if you want the shadows warm rather than absolute.
- Shadow body: Beige Brown.
- Mid-tone / basecoat: Gold Brown.
- Body light: Yellow Ochre.
- Bright: Deep Yellow.
- Near-highlight: Ivory - the step that desaturates the yellow towards cream. Skipping it is why gold goes acid.
- Glint: White, a dot.
Vallejo
Vallejo
Vallejo
Vallejo
Vallejo
The Citadel gold ramp
If your paint drawer is Citadel, you already own this ramp; it is the standard brown-to-bone ladder used on everything from Custodes to Stormcast, pushed further at both ends than you would push it for cloth.
- Deepest shadow: Abaddon Black, or Rhinox Hide for a warm shadow.
- Shadow body: Rhinox Hide, optionally blended towards Skrag Brown.
- Mid-tone / basecoat: Balor Brown.
- Body light: Zamesi Desert.
- Bright: Ushabti Bone.
- Near-highlight: Screaming Skull.
- Glint: White Scar.
Two useful additions from the same range: a thinned Agrax Earthshade over the finished shadows deepens them without flattening the ramp, and a glaze of Casandora Yellow or Fuegan Orange over the midtone is the single best way to warm a gold that has gone pale.
Citadel (Warhammer Paints)
Citadel (Warhammer Paints)
Citadel (Warhammer Paints)
Citadel (Warhammer Paints)
Citadel (Warhammer Paints)
Citadel (Warhammer Paints)
The Army Painter Warpaints gold ramp
The cheapest complete route, and a short one - five steps rather than seven, which suits a first attempt.
- Deepest shadow: Matt Black.
- Shadow body: Oak Brown.
- Mid-tone / basecoat: Desert Yellow.
- Bright: Daemonic Yellow.
- Near-highlight: Ice Yellow, or Brainmatter Beige for a creamier, less acid finish.
- Glint: Matt White.
A thinned Strong Tone in the recesses at the end does the same unifying job as Agrax above.
Army Painter
Army Painter
Army Painter
Army Painter
Army Painter
Army Painter
The Scale75 gold ramp
Scale75 built its reputation on NMM, and the reason is its Scale Color range: the paints are heavily pigmented, dead matte and formulated as ramps rather than as individual colours, so consecutive pots are already a sensible step apart. If you are going to buy paints specifically for this technique, this is the range to buy.
- Deepest shadow: Black.
- Shadow body: Dubai Brown.
- Mid-tone / basecoat: Arabic Shadow.
- Body light: Sahara Yellow.
- Bright: Tenere Yellow.
- Near-highlight: Birch, then White Sands.
- Glint: White.
Scale75
Scale75
Scale75
Scale75
Scale75
Scale75
NMM steel and silver, step by step
Steel is easier than gold and a better place to start, because the ramp is greys and a grey ramp forgives a wobble. It is also less forgiving in one specific way: pure neutral grey looks like stone, not steel. The fix is to tint the shadows cool - blue or blue-green - and leave the highlights near-neutral. That temperature split is the difference between armour and a rock.
The method is the gold method with a colder ramp and harder edges. Steel is shinier than gold, so the transitions are tighter and the dark-to-light jump is more violent. Do not be afraid of putting near-black directly next to near-white on a blade; that is what a mirror does.
- Basecoat in the mid-grey.
- Glaze the down-facing areas to near-black, with a blue or blue-green tint mixed in.
- Bring the up-facing areas up through the greys in three or four steps.
- Hard edge at the horizon line on flat panels; soft gradient on curves.
- Bounce line along the bottom edges.
- One white glint per surface.
Silver versus steel: they are the same ramp with different weighting. Silver is brighter overall - more of the surface sits in the upper half of the ramp, the shadows stay lighter, and the highlights go to pure white early. Steel is darker and dirtier, with more of the surface in the lower half and a hint of brown in the deepest recesses.
The Vallejo Model Color steel ramp
Vallejo's grey ladder was designed for aircraft camouflage, which means the steps are even and predictable - ideal here.
- Deepest shadow: Black, tinted with Dark Sea Blue or Prussian Blue.
- Shadow body: German Grey.
- Low mid: Basalt Grey.
- Mid-tone / basecoat: London Grey.
- Body light: Light Grey.
- Near-highlight: Sky Grey.
- Glint: White.
Vallejo
Vallejo
Vallejo
Vallejo
Vallejo
Vallejo
The Citadel steel ramp
Four pots and a black. This is the fastest complete NMM recipe in the guide and the one to try on your first pauldron.
- Deepest shadow: Abaddon Black, or Corvus Black for a softer black.
- Cool shadow tint: Mechanicus Standard Grey or a glaze of Thunderhawk Blue.
- Shadow body: Eshin Grey.
- Mid-tone / basecoat: Dawnstone.
- Body light: Administratum Grey.
- Near-highlight: Ulthuan Grey - its faint blue-green cast is exactly what steel wants near the top of the ramp.
- Glint: White Scar.
Citadel (Warhammer Paints)
Citadel (Warhammer Paints)
Citadel (Warhammer Paints)
Citadel (Warhammer Paints)
Citadel (Warhammer Paints)
Citadel (Warhammer Paints)
The Army Painter Warpaints steel ramp
Warpaints' grey ladder is unusually complete, which makes it a strong and inexpensive NMM steel set.
- Deepest shadow: Matt Black.
- Cool shadow: Deep Grey - it carries a blue cast already.
- Shadow body: Uniform Grey.
- Mid-tone / basecoat: Dungeon Grey.
- Body light: Ash Grey.
- Near-highlight: Company Grey, then Brigade Grey.
- Glint: Matt White.
Army Painter
Army Painter
Army Painter
Army Painter
Army Painter
Army Painter
The Scale75 steel ramp
- Deepest shadow: Black, cooled with Abyssal Blue.
- Shadow body: Anthartic Grey.
- Low mid: Graphene Gray - the blue-grey that gives Scale75 steel its character.
- Mid-tone / basecoat: Graphite.
- Body light: Nacar.
- Glint: White.
Scale75
Scale75
Scale75
Scale75
Scale75
Scale75
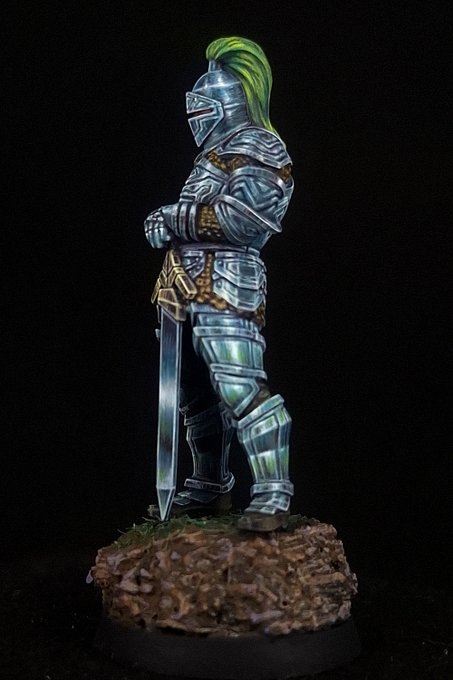
Blades and edged weapons
A sword is the most-attempted NMM surface and the easiest one to get badly wrong, because the instinct - dark at the hilt, light at the tip - produces something that looks like a painted plank.
Painted by Catlord Miniature Painter
A blade is two flat planes meeting at a central ridge, and each plane behaves differently:
- The upper plane catches the sky. Run it light near the ridge and darker towards the cutting edge, with the gradient running along the blade rather than across it.
- The lower plane faces the ground and stays dark for most of its area.
- The cutting edge itself gets a hairline of the brightest colour along its entire length. This is the single most convincing detail on any NMM blade, and it takes one pass with a well-pointed brush.
- The ridge takes a hard value break, not a blend. On a mirror-flat surface the reflection changes abruptly where the plane angle changes.
- Break the blade into bands. Real polished steel shows the environment as irregular light and dark bands running down its length. Two or three soft bands along a long blade look far more like metal than one even gradient - and they hide any wobble in the underlying blend.
- Near the guard, darken sharply. The crossguard and the hand block the light, and the shadow they cast is what makes the blade look like it belongs to the model.
Axe heads and hammer faces follow the cylinder exercise rather than the blade one - broad curved surfaces with one bright band and a bounce line along the lower lip. Chainmail is the exception to everything here: it is too fine to hold a ramp, so paint it as a dark basecoat, a mid-grey drybrush and a few individual bright links picked out by hand on the up-facing shoulders.
Citadel (Warhammer Paints)
Citadel (Warhammer Paints)
Citadel (Warhammer Paints)
Citadel (Warhammer Paints)
Vallejo
Vallejo
The blending itself is ordinary wet blending and glazing - thin coats, many of them. If a transition is too abrupt, a glaze of the intermediate colour thinned to a wash consistency will pull it together.
Bronze, copper, brass and black metal
Once gold and steel work, every other metal is one of those two ramps with the hue shifted.
Bronze and brass are the gold ramp pulled green. Use the same brown-to-cream structure but glaze the midtones with a green shade - Coelia Greenshade over Citadel's gold ramp, or substitute Green Ochre for Yellow Ochre in the Vallejo ramp. Brass keeps more yellow; bronze goes greener and darker, and looks best slightly dulled with a brown wash at the end. If you want the effect without the ramp, Citadel's Warplock Bronze and Brass Scorpion are the metallic equivalents for comparison.
Copper is the gold ramp pulled red. Start the shadows at Burnt Red or Rhinox Hide, run the body through Orange Brown or Skrag Brown, and take the highlights through a pink-cream such as Salmon Rose rather than a yellow one. A glaze of Fuegan Orange over the finished midtone is what stops copper reading as rust.
Black metal - the dark, oily armour on Chaos and Necron models - is the steel ramp with the whole thing shifted down and the glints left at full white. Basecoat black, shadow with black, and run the highlights only as far as Dawnstone or Basalt Grey, then jump straight to a hairline of pure white on the sharpest edges. The violent gap between the mid-grey and the white glint is the effect; fill it in and it becomes grey armour.
Vallejo
Vallejo
Vallejo
Vallejo
Citadel (Warhammer Paints)
Citadel (Warhammer Paints)
NMM on Warhammer models specifically
Three situations come up constantly on 40k and Age of Sigmar models, and each has a settled answer.
Space Marine and Stormcast pauldrons and trim. Gold trim on a shoulder is a thin raised band, not a surface - there is no room for a seven-step ramp. Use three values only: the shadow brown in the recess behind the trim, the ochre body along the band, and a cream highlight on the top half of the band where it faces up. It reads as gold at arm's length and takes seconds per edge.
Custodes and other gold-armour armies. Full NMM on a gold army is a project measured in months, and the sensible route is to NMM only the large flat plates - the chest, the shoulders, the greaves - and paint the trim, cabling and small details in a real metallic. The eye reads the big surfaces and accepts the rest. A Custodian painted this way is perhaps three times the work of a metallic one, not twenty.
Necron and Chaos black metal. These are the best value in the whole technique: the black-metal recipe above is four pots, it is faster than a full metallic-and-wash routine, and it photographs far better.
One warning for anyone bringing NMM to an army rather than a character. A model painted NMM sitting next to twenty painted TMM looks wrong - not because either is bad, but because they disagree about where the light is. Commit a unit at a time.
Citadel (Warhammer Paints)
Citadel (Warhammer Paints)
Citadel (Warhammer Paints)
Citadel (Warhammer Paints)
Citadel (Warhammer Paints)
Citadel (Warhammer Paints)
More on the brush technique the trim work needs: edge highlighting. More on what a shade does to a finished ramp, and when it helps: washes and shades.
Which paints to buy
You almost certainly do not need to buy anything. Every recipe above is built from standard pots. If you own a black, a white, four greys and four browns, you own an NMM set - which is the honest answer to a question the shelves would rather you answered with a box.
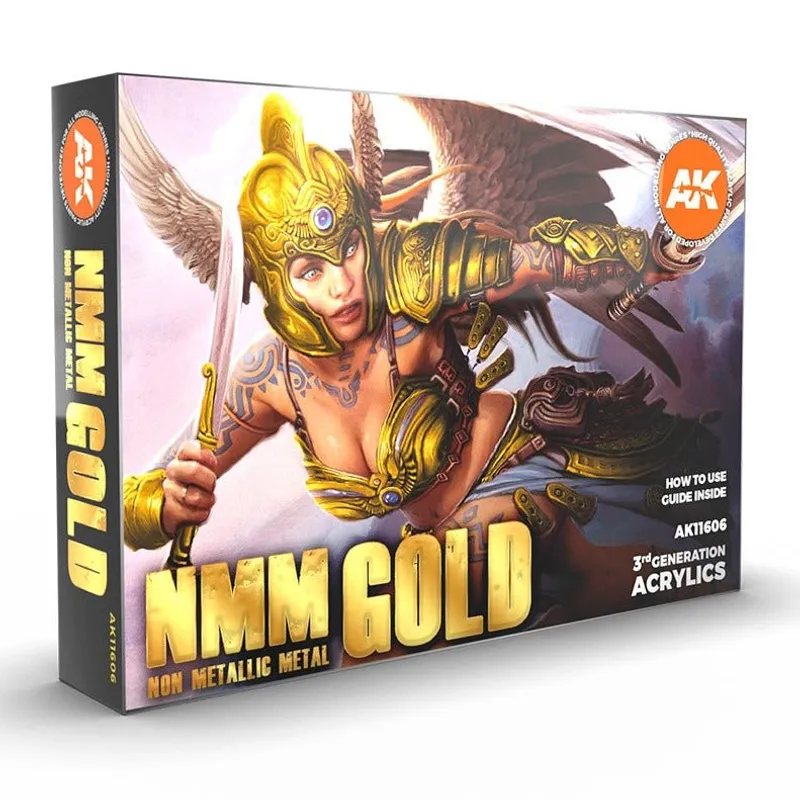
If you want to buy one thing anyway, a purpose-built NMM set is a reasonable shortcut, because it hands you a ramp whose steps are already the right distance apart. That is genuinely the hard part when you assemble one yourself from a range you do not know well. The sets below are the ones we track prices for:
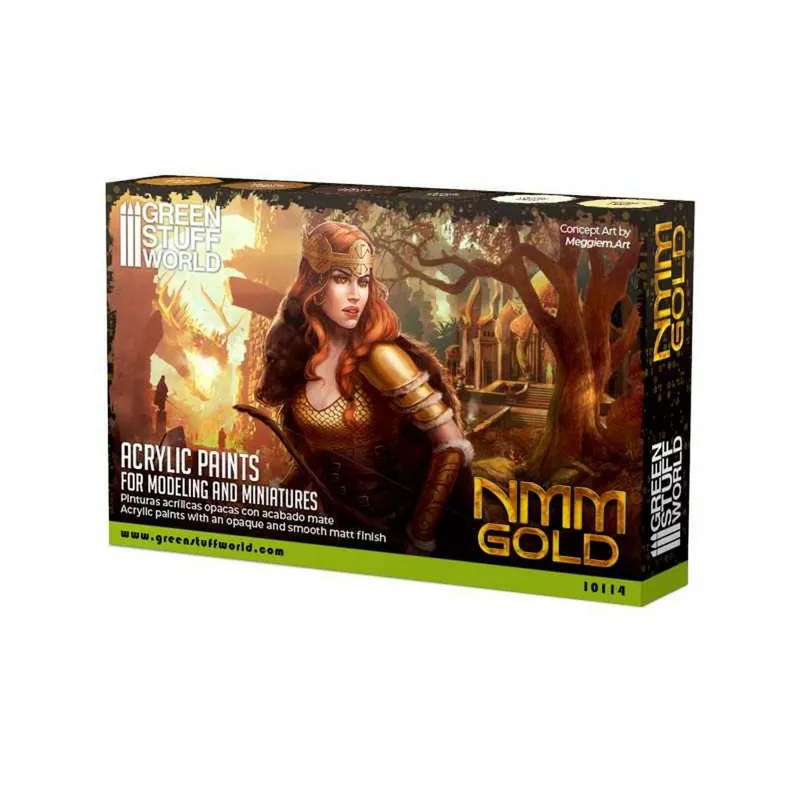
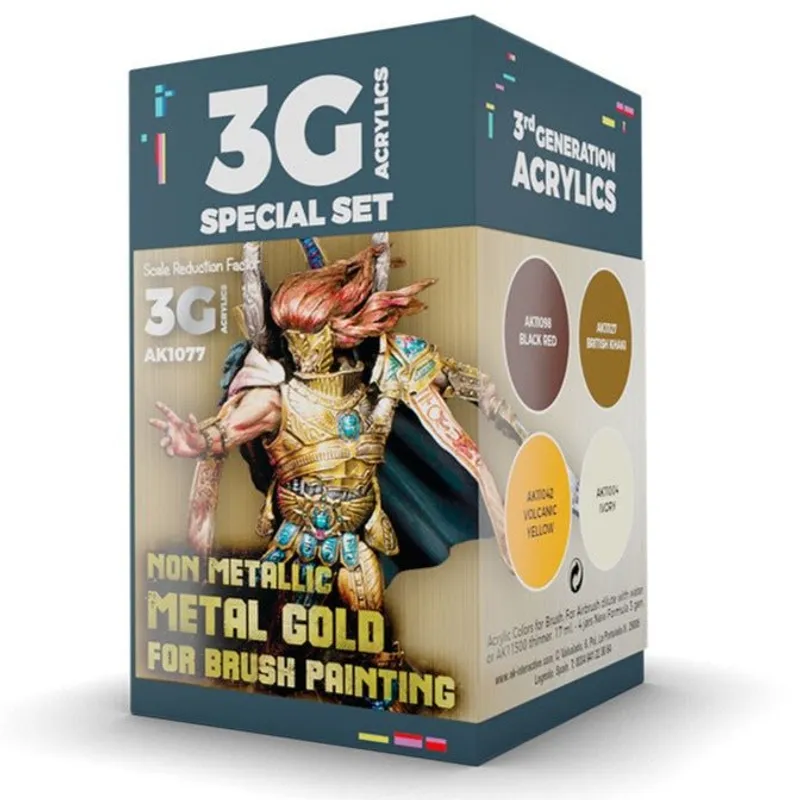
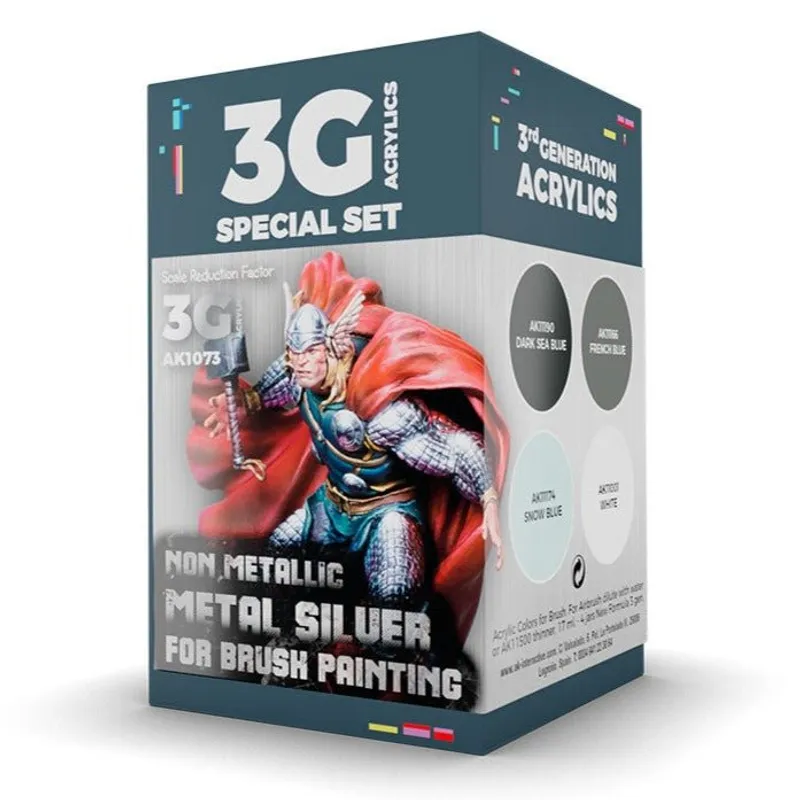
If you are assembling your own, buy in this order:
- A black and a white you trust. They bracket every ramp in this guide.
- Four greys at even steps - dark, low-mid, mid, light. This is your steel, your practice sphere and half your black metal.
- Four warm tones - dark brown, mid brown, ochre, cream. This is your gold, and with a green or red glaze it is also your bronze and copper.
- A brown shade and a warm glaze colour. Agrax Earthshade, Strong Tone or a thinned Fuegan Orange - the unifying pass at the end.
- A good brush. NMM asks for glazing over a large area and one very small dot; a size 1 with a genuine point does both. See best brushes for miniatures.
If you would rather compare ranges before committing, the best miniature paints comparison covers Citadel against Vallejo, Army Painter and the rest on coverage, pot size and price per ml - and the full ranges with dated prices from every shop we track are at Vallejo, Citadel, Army Painter and Scale75.
Vallejo
Vallejo
Citadel (Warhammer Paints)
Army Painter
Vallejo
Common mistakes
- Not enough contrast. By a wide margin the commonest fault. If your darkest point is a mid-grey and your lightest is an off-white, you have painted matte plastic. Go darker than feels right and brighter than feels right.
- Highlighting gold with white. It turns the yellow chalky and green. Go through a cream or ivory first, and let white be a dot at the very end.
- Blending everything. Metal has hard edges where planes meet. Softening every transition produces cloth.
- Moving the light source. Every surface, every session, same light. Write it on a sticky note.
- Forgetting the ground bounce. The lower-edge highlight is the step that separates convincing NMM from a competent gradient.
- Too many glints. One per surface.
- Working too thick. Every layer here is thinned. A ramp built from thin glazes can be corrected; a ramp built from thick paint has to be stripped. See how to thin paints.
- Starting on a model. Do the sphere. It costs an hour and saves a week.
Questions people ask
What is non-metallic metal? Painting the appearance of metal - gold, silver, steel, bronze - using ordinary matte paints with no metallic pigment. You paint the reflections by hand instead of relying on flake in the paint to catch real light.
Is NMM better than metallic paint? Neither is better; they suit different jobs. NMM wins on display models and in photographs, where metallic flake blows out or goes flat. Metallics win on armies and on small details, where they look right instantly and take a fraction of the time. Many painters use both on the same model.
Can a beginner paint NMM? Yes, and the fastest route in is not a miniature. Paint a sphere and a cylinder on card first, in greys - an hour's work that teaches the whole pattern. Then do one shoulder pad or one blade rather than a whole model. The brush control involved is no harder than edge highlighting; the thinking is the hard part.
What paints do you need for NMM? A black, a white, four evenly spaced greys for steel and four warm tones - dark brown, mid brown, ochre, cream - for gold. That is ten or eleven pots and all of them are ordinary matte colours. The ramps above name specific pots in four ranges.
Do you need special NMM paints? No. NMM sets exist and they are convenient, because someone has already chosen steps that sit the right distance apart, but there is nothing in them that a standard matte range cannot do. Buy one to save yourself the selection problem, not because the technique requires it.
How long does NMM take? A single shoulder pad or blade, done properly, is perhaps 30 to 45 minutes once you know the ramp - most of it waiting for thin glazes. There are faster shortcut versions that stipple or drybrush the transitions and land somewhere between NMM and a highlighted metallic in about a quarter of the time; they look good on the table and less good in a photograph.
Why does my gold look yellow and flat? Two causes, usually together: the ramp is too short, and it goes straight from ochre to white. Push the shadows to near-black, add a cream step before the white, and glaze the whole midtone with a thinned orange or brown at the end.
Why does my steel look like stone? Because the greys are neutral. Tint the shadows cool - a little blue or blue-green - keep the highlights near-white, and make the transition at the horizon line harder than you think it should be.
Shop NMM paints and sets
A black, a white, four greys and four warm browns is the whole technique - compare current prices across every shop we track.
We earn a small commission from qualifying purchases at no extra cost to you.
Ready for the next surface? Edge highlighting sharpens the trim work NMM depends on, wet blending covers the transitions, and the scheme generator will build a full shade-to-highlight ramp from any colour you give it, cross-referenced across every range we track.