


Germans are the army most people paint first in Bolt Action and the one most often painted wrong, because feldgrau is not a colour you can guess at. It is not grey and it is not green: it is a desaturated grey-green with a brown undertone, and reaching for a bottle labelled "field grey" from a fantasy range usually lands you somewhere that reads as a Space Marine chapter instead. Get the base tone right and the rest of a squad - black leather, dull steel, one camouflage item - falls into place in an evening.
The signature look
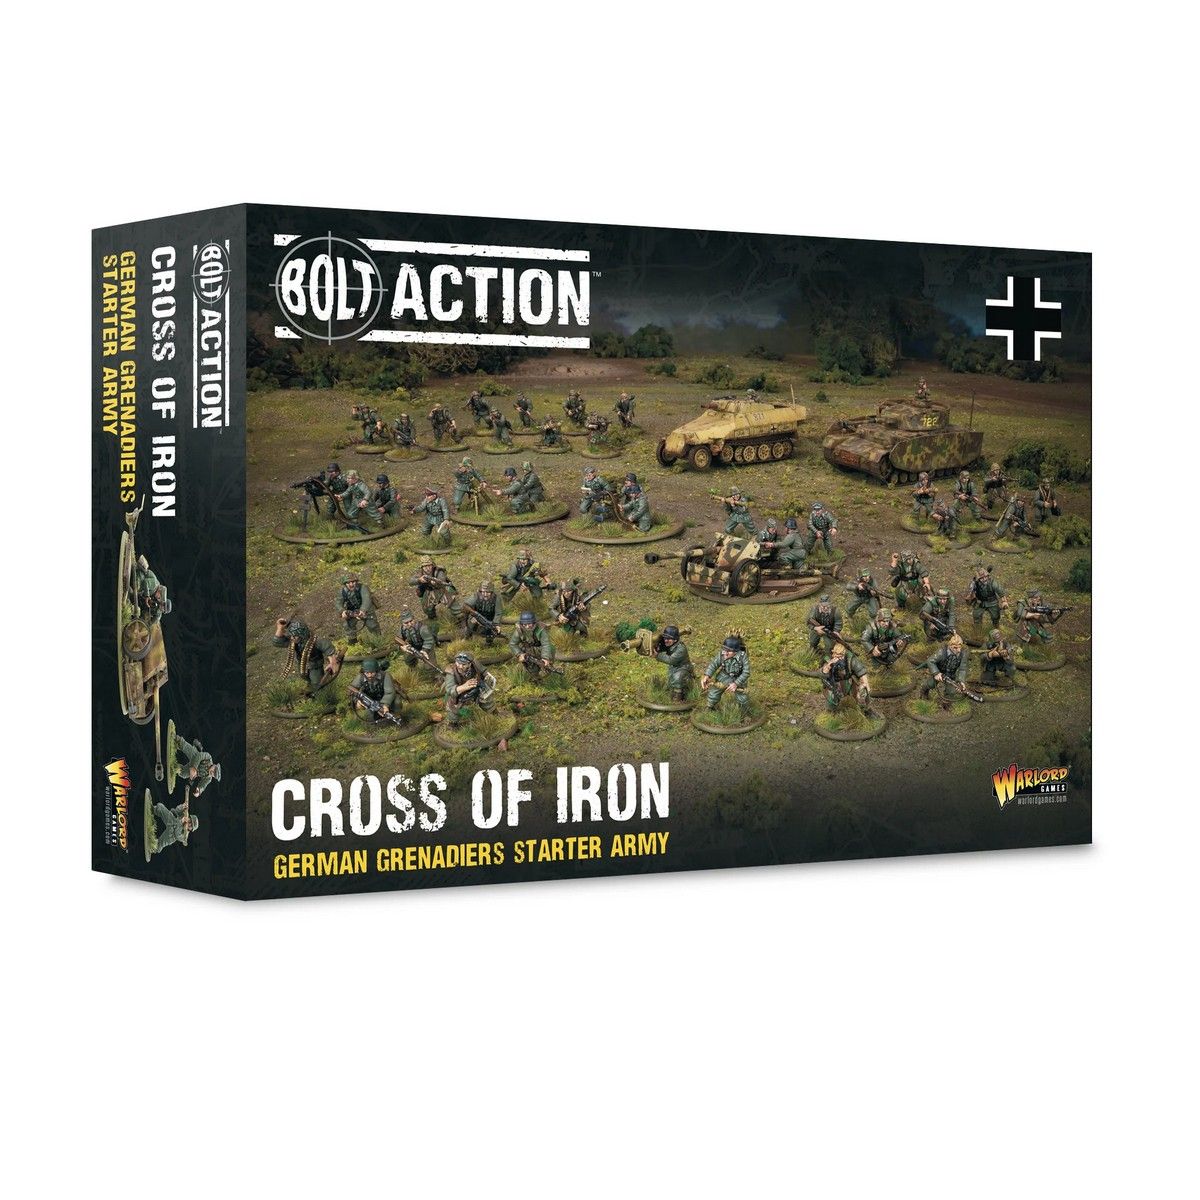
A Heer section is deliberately low contrast. Feldgrau tunic and trousers, near-black leather Y-straps and boots, a helmet in the same tone as the uniform, and dull steel on the weapons. What lifts it off the table is the placement of contrast rather than the amount: the dark webbing works as an outline around the torso, and one camouflage item - a Zeltbahn, a smock, a helmet cover - carries all the colour interest.
The tone drifted through the war, which is useful to know. 1939-41 cloth is greener and better dyed; from 1943 it goes greyer, browner and far more variable, and by 1944-45 a single section can hold three visibly different shades. Lean into that: a drop of brown or buff mixed into the base on some models makes the unit look issued rather than moulded.
The feldgrau uniform
Undercoat black or dark grey. Feldgrau is dark enough that white primer fights you all the way.
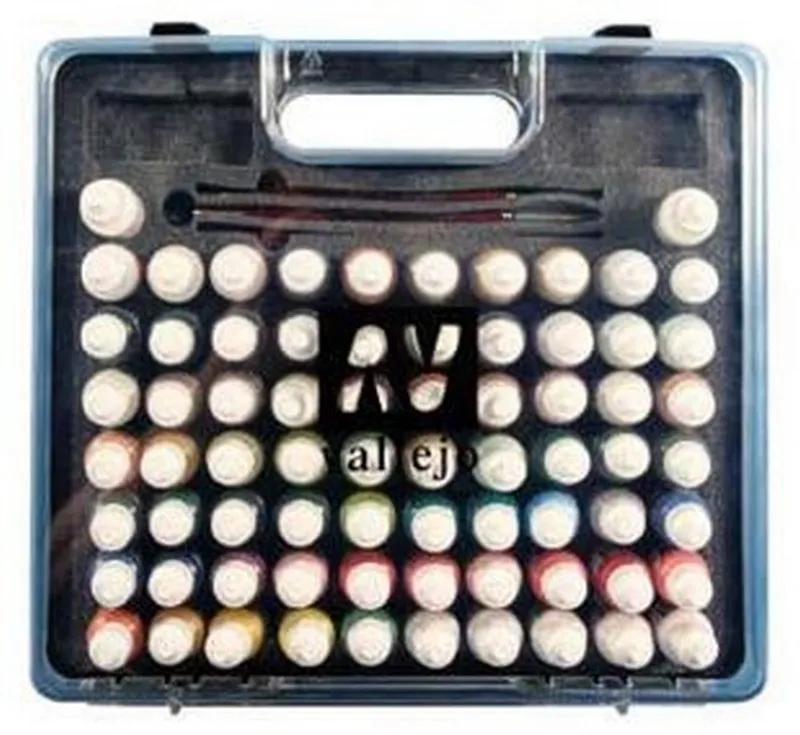
- Basecoat Vallejo Model Color German Fieldgrey WWII, two thin coats. This is the reference tone for mid-war Heer cloth and the one bottle to own.
- Shade with Nuln Oil in the deep folds only, or Agrax Earthshade across the whole garment for the warmer, dustier late-war look. Army Painter's Military Shade does the same job in a single pass and keeps the green alive.
- Layer German Fieldgrey WWII back over the raised cloth, leaving the shade in the creases.
- Highlight with German Fieldgrey WWII mixed roughly two parts to one with Green Grey, along the tops of shoulders and sleeves and the front of the thighs. A final sparing catch of pure Green Grey on knees and pack straps is enough.
For an early-war, greener tunic swap step one for German Uniform. For a tired 1945 one, mix a little Green Brown or Khaki into the base and drop the last highlight - worn wool has no sheen.
Citadel equivalent: Death Korps Drab basecoat, Agrax Earthshade, then Death Korps Drab cut with a touch of Karak Stone to highlight. It runs browner than true feldgrau, so keep the highlight cool rather than sandy. Army Painter Fanatic: Uniform Grey is a near-direct match, shaded Military Shade and highlighted with Ash Grey.
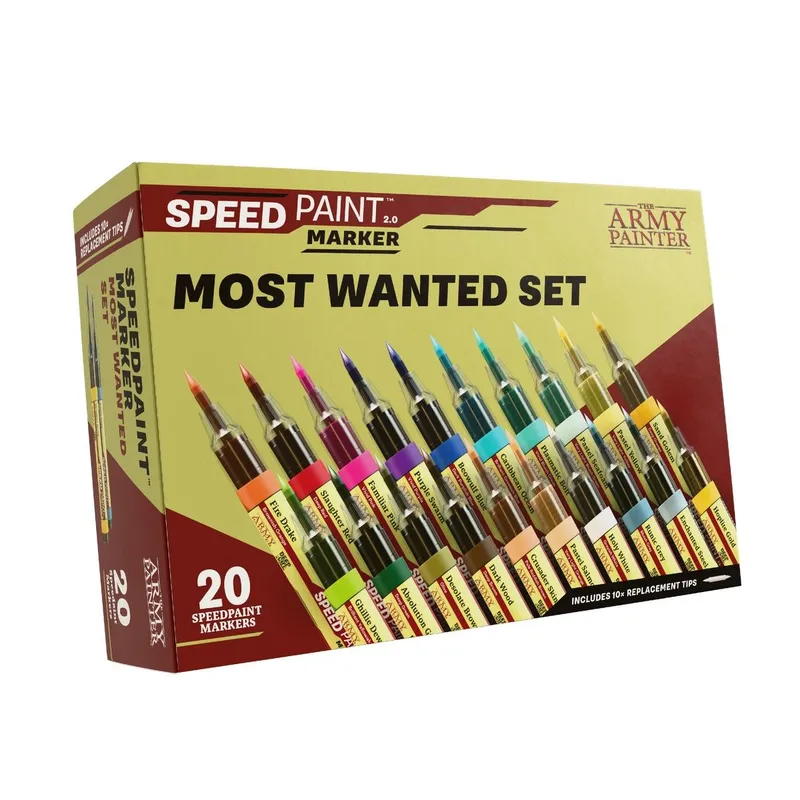
Speed route: undercoat grey and lay a single coat of Army Painter Speedpaint Burnt Moss over it, then one edge catch of Green Grey. Twenty men in an evening. Citadel's Militarum Green contrast will do it too but runs yellow, so glaze it back with a thinned Nuln Oil.
Camouflage smocks and Zeltbahnen
Two patterns cover almost everything you will be asked to paint.
Splinter (Splittertarn, Heer and Luftwaffe): base German Beige WWII, then irregular angular patches of Bronze Green and Chocolate Brown - hard-edged shards, not blobs. Finish with a rain of short brown ticks laid on with the tip of the brush. Keep every shape smaller than feels right; at 28mm a generous patch just reads as a stain.
Pea-dot (Erbsenmuster, Waffen-SS from 1944): base Camouflage Olive Green, then clusters of small dots in Chocolate Brown, Iraqi Sand and Black Grey. Dot with the side of the brush tip rather than the point and let clusters overlap.
Either way, wash the finished panel with Agrax Earthshade afterwards. It pulls the pattern back into one garment instead of three colours arguing with each other.
Webbing, gear and metal
- Y-straps, belt, ammo pouches, boots and rifle sling: Black Grey, edge-highlighted Neutral Grey. Never pure black, which kills the detail entirely.
- Bread bag, canteen cover and mess-tin canvas: Khaki shaded Agrax Earthshade.
- Gas mask canister and entrenching tool: German Grey, edges caught with Gunmetal.
- Rifles: Chocolate Brown stocks highlighted Beige Brown, metalwork Gunmetal shaded Nuln Oil. Citadel: Leadbelcher into Runefang Steel.
- Helmets: the same German Fieldgrey WWII as the tunic, shaded harder and highlighted only on the rim and crown. Matching helmet to uniform is what makes a squad look uniformed.
- Faces: Basic Skin Tone, Agrax Earthshade, Medium Fleshtone, then a touch of Light Flesh on nose and cheekbones.
Tips and common mistakes
- Feldgrau is not green. If the tunic reads as a colour rather than a drab, keep adding grey and brown until it stops.
- Vary the base between models. A drop of Khaki in one pot, a drop of Green Grey in another. Real sections were never one dye lot and the variation costs nothing.
- One camo item per figure, not five. Smock, helmet cover or Zeltbahn - pick one. A squad entirely in splinter looks like a paint test.
- Keep the leather nearly black. Germans are the dark-webbing army, and it is the strongest read at arm's length. Lightening it makes them look Soviet.
- Mud the boots, not the tunic. Drybrush earth up boots and gaiters only; weathering a wool tunic reads as a stain rather than campaign wear.
When the palette is settled, open this scheme in the generator to swap brands or push the base warmer for late war.