
Drybrushing - or dry brushing, written as two words just as often - is the fastest highlighting technique in the hobby. By dragging an almost-dry brush over a textured surface, you catch only the raised detail - perfect for fur, cloth, rust, stonework, bone and bare metal. It is forgiving, quick, and one of the few realistic ways to highlight a whole army rather than a handful of characters.
What it is, and when to reach for it
Ordinary highlighting - edge highlighting or wet blending - paints a smooth gradient by hand, following the direction of the light across a surface. Drybrushing skips the hand-eye work entirely: you load a little paint on a brush, wipe almost all of it off, then scrub the brush across the model. Because the bristles are nearly dry, paint only transfers where they physically touch something raised - a fold in cloth, a strand of fur, the rim of a rock, the edge of a rivet. Flat, smooth surfaces stay untouched.
That trade-off decides when to use it. Drybrushing is the right tool when:
- The surface already has texture. Fur, fabric, rope, stone, rubble, chainmail and corroded metal all have raised detail for the brush to catch. A smooth pauldron or a flat shield has nothing to catch, and a drybrush there just leaves streaks.
- You are painting more than a couple of models. A drybrush pass across ten Space Marine cloaks takes minutes; ten wet-blended cloaks take an evening. See slapchop, which builds a model's entire light and shade this way before any colour goes on.
- You want texture rather than a smooth ramp. NMM and true metallic highlighting both aim for a controlled gradient - see non-metallic-metal painting - and a drybrush cannot give you that. It gives you noise, which is exactly what fur and rust want and exactly what a sword blade does not.
It pairs naturally with a wash first: basecoat, flood the recesses with a wash (see washes and shades), then drybrush back up from that dark base. Two techniques, five minutes each, and the model already reads as painted.
What you need
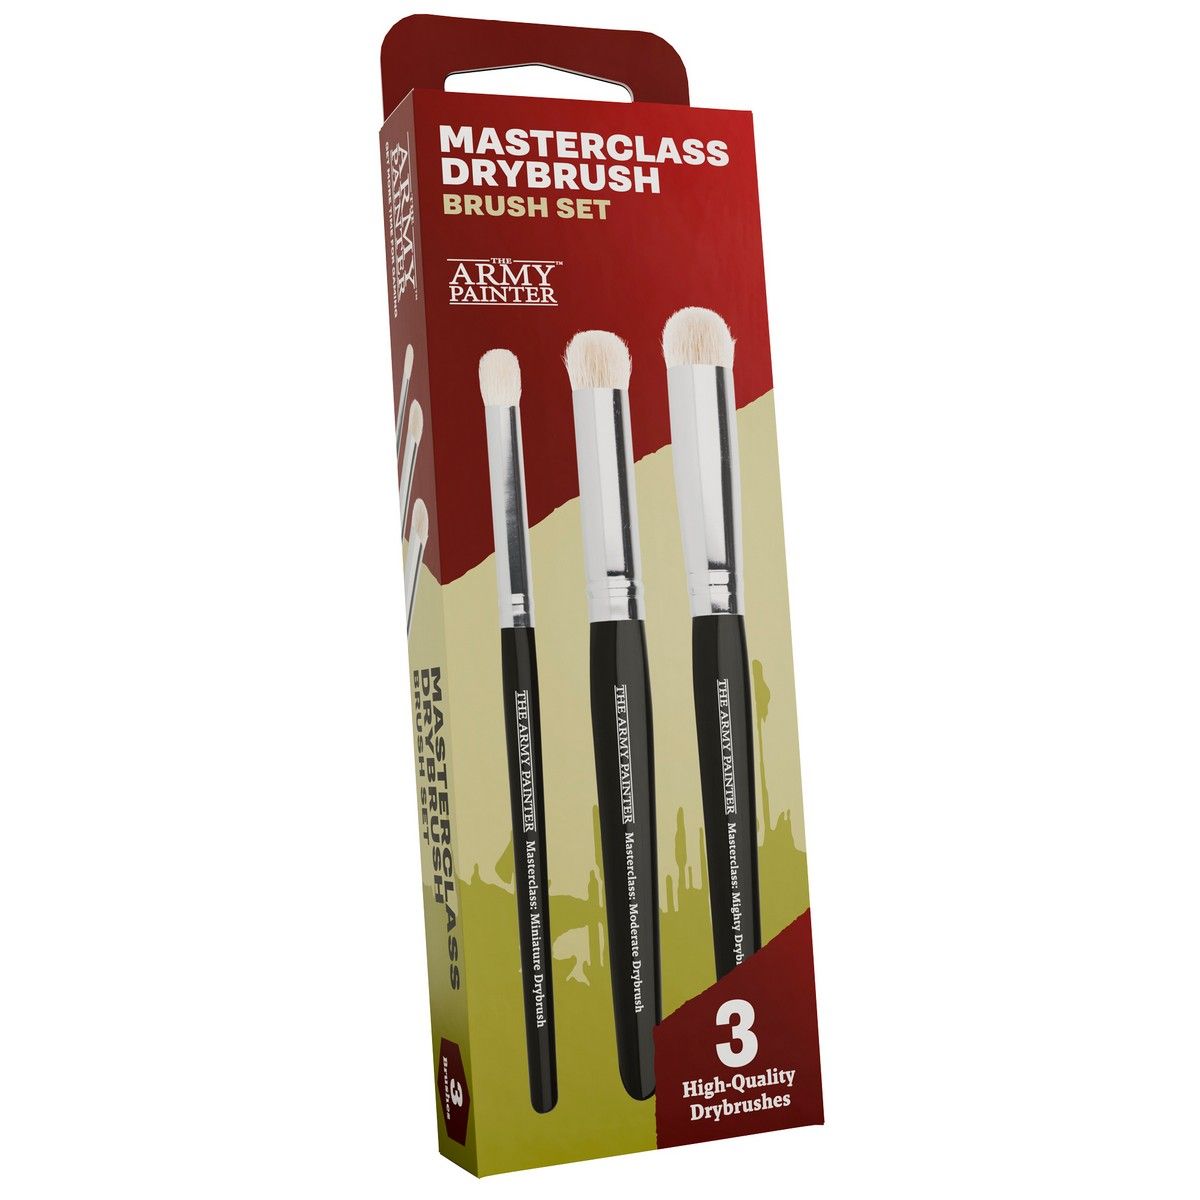
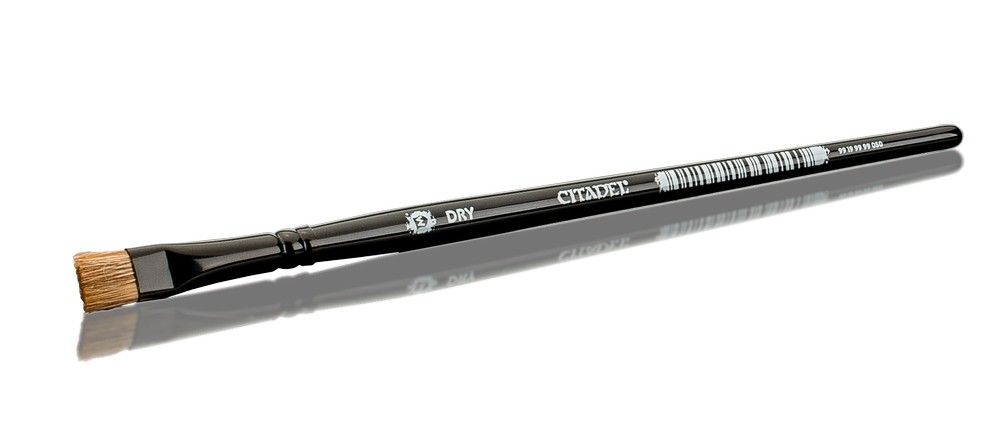
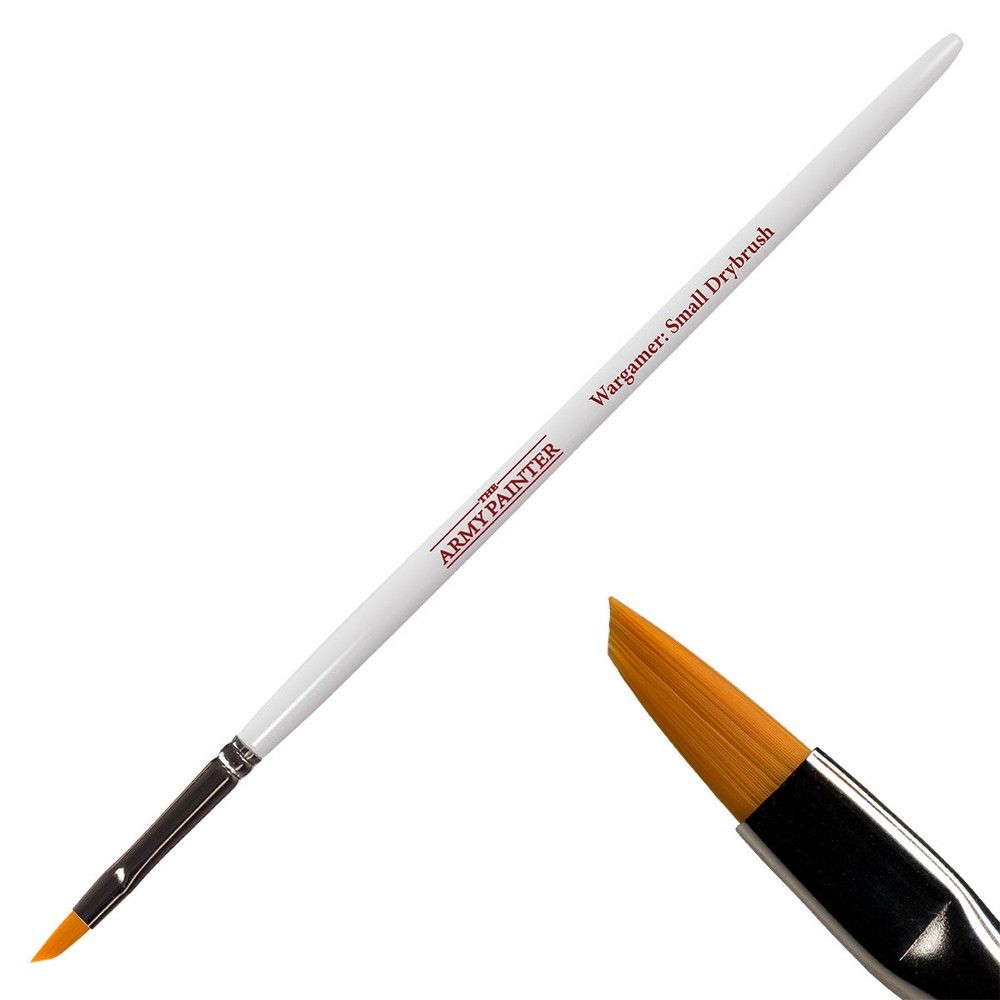
- A dedicated drybrush. The technique wrecks bristles - splaying them is the point - so never use a brush you care about. A flat or filbert shape holds its edge longest; a soft dome (see slapchop for why domed brushes matter there too) lays smoother gradients on large areas.
- A paper towel or scrap of card, to wipe the brush on before it touches the model.
- A basecoated, ideally washed, model. Drybrushing highlights an existing colour; it does not replace a basecoat.
- Any paint you already own. Nothing in this guide needs a special drybrush medium - ordinary matte acrylics from any range work. Swapping brands? The paint matcher finds the nearest equivalent.

drybrushing
The Army Painter
How to do it, step by step
- Basecoat and, ideally, wash the model first. Drybrushing works from dark to light, so the darker the starting point, the more contrast you get. A model straight from a wash is the ideal starting surface.
- Load a small amount of paint onto the brush - a blob about the size of a pinhead is plenty for a whole model.
- Wipe the brush back and forth on a paper towel until it looks and feels almost dry - you should see only a faint, dusty mark left on the towel, not a wet stroke.
- Drag the brush lightly across the textured area, working in the direction the texture runs - down a fur pelt, along a cloak's folds, across a stone base. Use a light back-and-forth motion rather than a single stroke.
- Check the result before reloading. It is always easier to add more than to remove it. If the first pass looks patchy, that is normal - drybrushing builds up in layers.
- Reload sparingly and repeat, working through progressively lighter colours if the recipe calls for more than one step. Cover less area each time, so only the very highest points catch the final, brightest colour.
- Clean the brush properly afterwards. Dried paint in the ferrule is what kills a drybrush early - even a brush you have written off lasts longer if you rinse it.
Practise on a scrap sprue before a real model
Do not learn the pressure and the wipe-off point on a model you care about. Find a spare sprue with raised detail on it - a rune, a rivet, a section of chainmail from an unused bit - or an old, already-ruined miniature.
- Prime it black, or paint it with any dark basecoat.
- Load and wipe the brush as above, then drag it across the sprue's detail.
- Repeat with a second, lighter colour, covering less of the surface.
- Compare the result at arm's length. If it looks chalky or solid rather than picking out edges, you had too much paint on the brush - wipe harder next time and trust that the faint dusty mark is enough.
Fifteen minutes of this teaches the wipe-off point better than any amount of reading, and it is the single biggest factor in whether a drybrushed model looks crisp or looks dusty.
Recipe: fur, dark to pale
Fur is the textbook drybrush job - a basecoat and two to three progressively lighter passes, each covering less of the surface than the last.
Citadel. Basecoat Mournfang Brown, heavy drybrush Doombull Brown, light drybrush Baneblade Brown on the very top of each tuft. This is the standard Citadel wolf-fur ramp and needs nothing else.
Vallejo. Basecoat Charred Brown, drybrush Beasty Brown, then a light final drybrush of Iraqi Sand on the raised strands.
Army Painter. Basecoat Matt Black, heavy drybrush Werewolf Fur, then a light drybrush of Bleached Bone on the tips only.
AK Interactive. Basecoat Dark Brown, drybrush Medium Brown, then Beige Brown on the highest points.
Citadel (Warhammer Paints)
Citadel (Warhammer Paints)
Citadel (Warhammer Paints)
Vallejo
Vallejo
Vallejo
Recipe: rusted metal
Rust is drybrushing done in reverse order to the usual logic - the base colour is a mid-tone metal, and you drybrush both a dark grime colour and a bright rust colour over it, each covering only a little of the surface.
- Basecoat black.
- Heavy drybrush a metallic over the whole area, hitting every edge.
- Light drybrush a dark rust-brown into the lower panels and recesses only, letting it sit unevenly rather than smoothing it out - unevenness is what reads as grime.
- Final light drybrush of a bright rust orange on the sharpest edges, rivets and corners.
Citadel. Leadbelcher metallic, Rhinox Hide for the grime pass, Ryza Rust for the bright highlight - Ryza Rust is one of Citadel's own "Dry" paints, made specifically for this.
Vallejo. Gunmetal (Metallic), then Dark Rust, then Rust or Orange Rust for the brightest edges.
Army Painter. Plate Mail Metal, then Dark Rust, then Dry Rust as the bright final pass.
AK Interactive. Dark Steel, then Dark Rust or Medium Rust, then Light Rust on the sharpest points.
Citadel (Warhammer Paints)
Citadel (Warhammer Paints)
Vallejo
Vallejo
Recipe: old bone
Bone benefits from a wash before the drybrush, which is the combination the technique is built for.
Citadel. Basecoat Rakarth Flesh, wash with Agrax Earthshade, then drybrush Ushabti Bone and finish with a light drybrush of Screaming Skull on the highest points.
Vallejo. Basecoat Skeleton Bone, thin wash of any brown ink or shade, drybrush Ivory, then a final light drybrush of Bone White.
Army Painter. Basecoat Skeleton Bone, drybrush Bleached Bone, then Bleached Skull on the very tips for a near-white finish.
AK Interactive. Basecoat BONE BROWN, then a light drybrush of Off White on the raised detail.
Citadel (Warhammer Paints)
Citadel (Warhammer Paints)
Citadel (Warhammer Paints)
Citadel (Warhammer Paints)
Vallejo
Vallejo
Common mistakes and fixes
- Too much paint on the brush. By far the commonest fault - the model comes out chalky or dusty rather than sharply highlighted. Wipe more than feels necessary; the towel should show only a faint mark, not a visible stroke.
- Using a good brush. Drybrushing splays bristles within a few models. Keep one brush that exists only for this, and do not feel bad when it stops holding a point.
- One heavy pass instead of several light ones. A single loaded pass looks flat and obvious. Two or three progressively lighter passes, each covering less area, build a far more convincing highlight and are easier to control.
- Drybrushing a smooth surface. If there is no texture for the bristles to catch, a drybrush just leaves streaks. Smooth armour panels want edge highlighting or an airbrushed zenithal instead.
- Skipping the basecoat and wash. Drybrushing highlights; it does not replace the darker colours underneath. The technique looks best starting from a properly shaded model, not bare primer.
- Working too fast on the final highlight. The brightest colour should touch only the very top of the texture. Slow down on that last pass - it is easy to cover too much and lose the contrast the earlier steps built.
Questions people ask
What paint consistency is best for drybrushing? Paint straight from the pot, undiluted. Unlike most techniques, drybrushing wants the paint thick enough to wipe almost all of it away and still have some pigment left on the bristles - a thinned paint disappears entirely on the towel. See how to thin paints for when thinning does and does not help.
Can I drybrush over a wash? Yes, and it is one of the best combinations in the hobby - a wash sinks into recesses and darkens them, then a drybrush picks the raised detail back out in a lighter colour. See washes and shades.
Do I need a special drybrush, or will any brush do? Any brush will physically do it, but a cheap, dedicated brush is strongly recommended - the technique frays and splays bristles quickly, and you do not want that happening to a brush you use for anything else.
Why does my drybrushing look patchy rather than smooth? Usually too little paint rather than too much, especially on a large flat-ish area like a cloak. Load slightly more, wipe a little less aggressively, and use a bigger, softer brush so the coverage evens out.
Is drybrushing the same as zenithal highlighting? No, though they are often used together. Zenithal highlighting is usually done with an airbrush or spray can from directly above, giving a smooth light-to-dark gradient over the whole model. Drybrushing is done by hand and only catches raised texture. Slapchop builds its zenithal effect with a drybrush rather than an airbrush, which is the bridge between the two.
Drybrushes for miniatures
A stiff, flat drybrush makes the technique much easier - keep a set just for this.
Army Painter Masterclass Drybrush Set
Best price
postage per seller
cheapest of 8 UK sellers · save £6.15 vs the most expensive · excl. delivery
We earn a small commission from qualifying purchases at no extra cost to you.