How to Paint Chaos Knights

Big panels, deep rust, tarnished brass and daemonic glow

Recommended recipe

How the scheme reads on a model

Armour — base to highlight

Base coat
Shade
Layer
Highlight
Edge highlight

Additional details

Trim
Weapons
Leather
Skin
Lenses
Basing
1

Base coat

Lay the foundation colour down over primer, slightly darker than the final tone.

Also available from — click to swap

2

Shade

Wash the recesses to add depth and separate the details.

from £4.00 · 3 shops· priced 16 Aug

Also available from — click to swap

3

Layer

Rebuild the main colour on the raised areas, leaving the shade in the cracks.

from £2.34 · 4 shops· priced 16 Aug

Also available from — click to swap

4

Highlight

Pick out the upper edges and surfaces that catch the light.

from £2.20 · 6 shops· priced 16 Aug

Also available from — click to swap

5

Edge highlight

Sharpen only the sharpest edges for a crisp, finished look.

from £4.08 · 4 shops· priced 16 Aug

Also available from — click to swap

Details & accent colours

Everything else on the model - metals, skin, leather, lenses, basing and this faction's signature accents.

Metal — trim

Aquilas, rims and ornament. Basecoat gold, wash with a brown shade, then edge a brighter gold.

Also available from — click to swap

Metal — weapons

Bolters, blades and casings. Dark gunmetal, washed black, edged with bright steel.

No price tracked yet

Also available from — click to swap

Leather & pouches

Straps, holsters and bare wood. Mid brown, shaded, then drybrushed a lighter tan.

Also available from — click to swap

Skin & flesh

Faces and hands. Basecoat, a flesh wash into the recesses, then build the highlights back up.

from £2.34 · 5 shops· priced 16 Aug

Also available from — click to swap

Eyes & lenses

Lenses, eyes and energy. A bright spot colour that pops against the armour - dot it on and add a white glint.

from £2.19 · 5 shops· priced 16 Aug

Also available from — click to swap

Basing — earth

Groundwork. Earth basecoat, drybrushed bone, finished with your choice of grass, sand or snow.

Also available from — click to swap

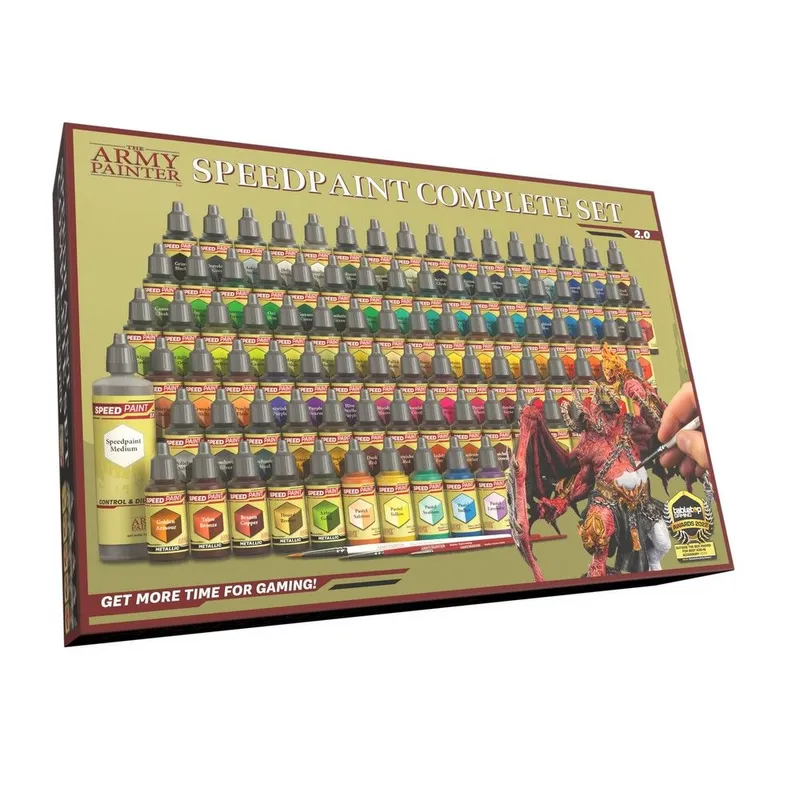
Buy It as a Box

Paint sets that cover this recipe - a set is usually cheaper than buying pots one by one.

Covers 7 of 11 paints in this scheme (64%) — base coat, highlight, edge highlight, leather & pouches and more.

Browse all paint sets →

Your paints

Tick off what's already on your shelf — whatever's left is your shopping list.

11 paints in this scheme

Price this recipe

11 paints

totals excl. delivery · affiliate links

  • Abyssal Black

    Army Painter

    no UK price
  • Grim Black

    Army Painter

    £4.00 · Merlin's Miniatures · eBay· priced 16 Aug
  • Dryad Bark

    Citadel (Warhammer Paints)

    £2.34 · Wayland Games· priced 16 Aug
  • Violet Grey

    Vallejo

    £2.20 · Model Workshop · eBay· priced 16 Aug
  • Industrial Splash Mud

    Vallejo

    £4.08 · Loaded Dice · eBay· priced 16 Aug
  • Ki-Rin Gold

    Army Painter

    no UK price
  • Iron Wolf

    Army Painter

    no UK price
  • Owlbear Brown

    Army Painter

    no UK price
  • Bestigor Flesh

    Citadel (Warhammer Paints)

    £2.34 · Wayland Games· priced 16 Aug
  • Scarlet

    Vallejo

    £2.19 · Loaded Dice · eBay· priced 16 Aug
  • Graveyard Earth

    Citadel (Warhammer Paints)

    no UK price

Every Chaos Knights kit and box, priced

Prices compared across the shops that stock them — boxes ranked by cost per model.

A Chaos Knight is a small number of very large flat panels, which changes everything about how you approach it. There is no rank of ten identical bodies to grind through, but there is nowhere to hide a rushed basecoat either. The good news is that the entire aesthetic is decay, so the techniques that ruin a clean army - stippling, sponging, uneven pigment - are exactly the ones you want.

Painted well, one Knight is an afternoon and a half. Painted badly, it is the biggest flat surface in your collection advertising the fact.

The signature look

Ancient armour that has spent millennia in the warp: dark iron plate, tarnished brass trim gone green at the edges, deep rust in every crevice, and one point of daemonic light in the eye slit or the reactor. It should look heavy and neglected, not battle-damaged in a tidy way.

The armour plates

Airbrush or brush Iron Warriors over a black undercoat, or Leadbelcher if you want a lighter iron. Shade the whole plate with Nuln Oil, then bring the centre of each panel back up with a broad, loose drybrush of Ironbreaker so the middle is lighter than the borders - that alone stops a large panel looking like a slab.

For a painted rather than bare-metal household, base the panels Khorne Red or Caliban Green, shade Agrax Earthshade and highlight Evil Sunz Scarlet or Warpstone Glow on the raised edges. Keep the highlight to a narrow band; on a panel this size a wide highlight looks like a stripe.

Rust and corrosion

This is the step that does the work.

  1. Stipple Typhus Corrosion along panel joins, around rivets and down from anywhere water would run.
  2. While it is still tacky, stipple Ryza Rust into the same areas, concentrated at the top and fading downwards.
  3. Sponge fine chips of Rhinox Hide first, then a smaller number of Leadbelcher chips inside them - a bare-metal chip with no brown edge reads as a mistake.
  4. Streak thinned Skrag Brown downward from rivets with a damp brush.

Brass, trim and daemonic glow

Trim in Warplock Bronze shaded Agrax Earthshade, then Brass Scorpion on the edges. A light touch of Nihilakh Oxide in the recesses of the brass gives the green verdigris that says "abandoned", and it costs one minute per Knight.

The eye slit and any exposed reactor are the only bright thing on the model. Paint the recess Abaddon Black, then ring it up through Khorne Red, Wazdakka Red, Troll Slayer Orange and a centre of Yriel Yellow. Glaze a little Wazdakka Red onto the surrounding metal so the light spills. Green works equally well - Caliban Green through Warpstone Glow to Moot Green.

Dread household variations

  • Herpetrax - bone and dark green plate, heavily rusted.
  • Khymere - deep blue-black armour with silver trim, colder and cleaner than most.
  • Lucaris - white and bone, which makes the rust and blood far more visible.
  • Vextrix - purple and gold for a Slaaneshi household.
  • A Khorne-pledged Knight in Khorne Red with brass trim is the fastest of the lot.

Tips and common mistakes

  • Undercoat black and work up. Everything here builds towards light, and a black start makes the recesses free.
  • Rust is directional. Water runs down. Rust that appears on the underside of an overhang looks wrong even if you cannot say why.
  • Do not chip everywhere. Chips belong on leading edges, feet and weapon housings.
  • Assemble in subassemblies. The torso interior and hip joints are unreachable once a Knight is glued together.

Recipes are generated by perceptual colour matching against our cross-brand paint database. Use them as a strong starting point and test paints in person when precision matters.