 General starter — not colour-specific
Black Powder (all periods)
 PaintPicker
The core armour method - basecoat, shade, edge highlight - for any chapter you pick
Prices in £ for the UK
Boxes to start from and paint sets to start with — pick a faction and both change to suit it.
General starter — not colour-specificBlack Powder (all periods)
 General starter — not colour-specific
Skaven · 25 models · 2 kits
5× Stormcast Eternals Liberators · 20× Skaven Clanrats
 General starter — not colour-specific
Orks · 12 models · 4 kits
1× Space Marines Lieutenant · 5× Intercessors · 1× Ork Nob · 5× Ork Boyz
 General starter — not colour-specific
Death Guard · 14 models
7× Angels of Death Kill Team operatives · 7× Plague Marine Kill Team operatives
 General starter — not colour-specific
Skaven · 35 models · 4 kits
1× Lord-Veritant · 1× Gryph-crow · 3× Prosecutors · 5× Liberators · 1× Grey Seer · 1× Warlock Engineer · 3× Rat Ogors · 20× Clanrats
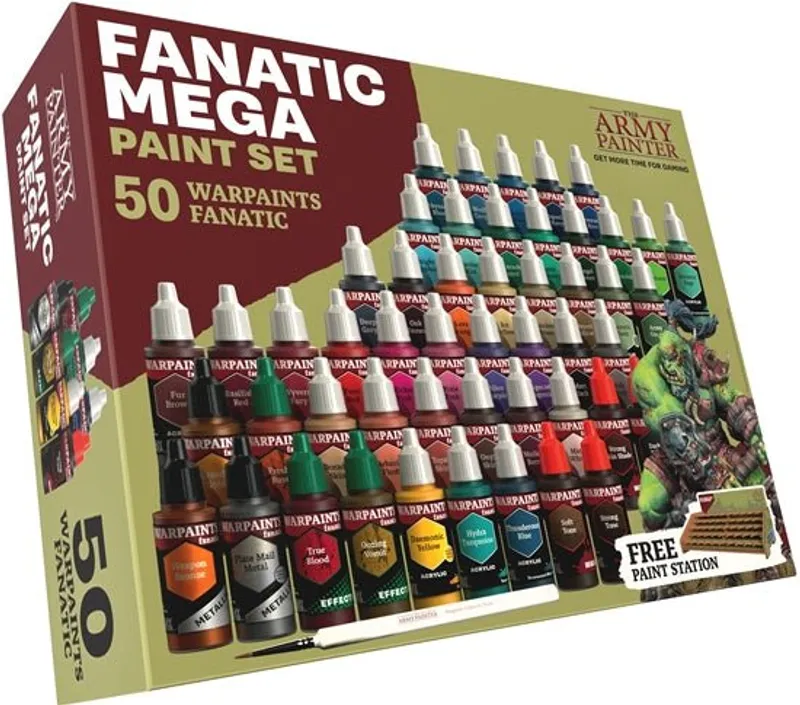
50 paints
£136.00
£160.15-15%
Covers 8 of 11 colours in this scheme
Covers 8 of 11 colours in this scheme
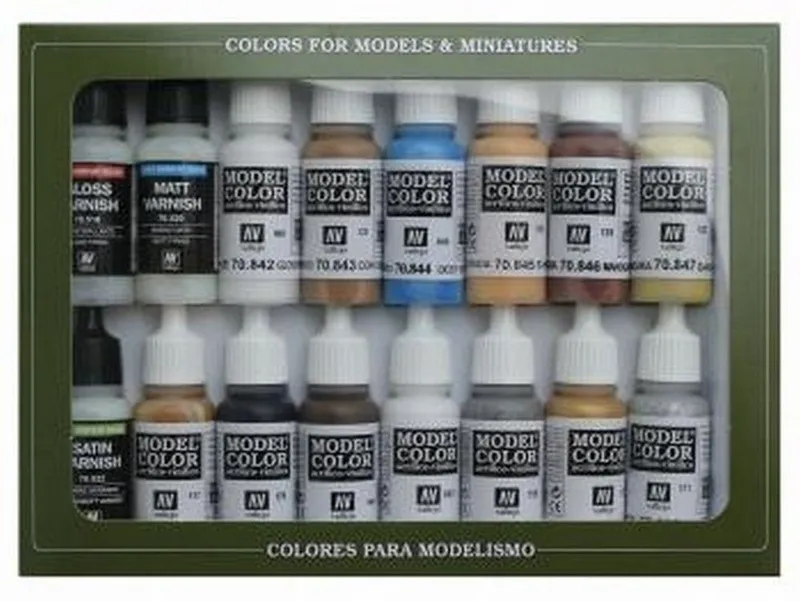
16 paints
£38.39
£47.99-20%
Covers 6 of 11 colours in this scheme
Covers 6 of 11 colours in this scheme
Covers 5 of 11 colours in this scheme
Covers 5 of 11 colours in this scheme
How the scheme reads on a model
Lay the foundation colour down over primer, slightly darker than the final tone.
★ Our pick for base coat
Citadel (Warhammer Paints) · Base 99189950304
Wash the recesses to add depth and separate the details.
Citadel (Warhammer Paints) · Contrast 99189960103
★ Our pick for shade
Rebuild the main colour on the raised areas, leaving the shade in the cracks.
Citadel (Warhammer Paints) · Base 99189950272
★ Our pick for layer
Army Painter · Warpaints
No shop price tracked yet — the paint’s page has every seller we find.
Pick out the upper edges and surfaces that catch the light.
★ Our pick for highlight
Monument · Monument Pro Signature Series MPA-S35
Sharpen only the sharpest edges for a crisp, finished look.
Closest paint we sell — not an exact match for this colour
★ Our pick for edge highlight
Citadel (Warhammer Paints) · Layer 99189951364
Monument · Monument Pro Acrylic Paints MPA013
Everything else on the model - metals, skin, leather, lenses, basing and this faction's signature accents.
Aquilas, rims and ornament. Basecoat gold, wash with a brown shade, then edge a brighter gold.
Army Painter · Warpaints
No shop price tracked yet — the paint’s page has every seller we find.
★ Our pick for metal — trim
Bolters, blades and casings. Dark gunmetal, washed black, edged with bright steel.
★ Our pick for metal — weapons
Monument · Monument Pro Signature Series MPA-S42
Straps, holsters and bare wood. Mid brown, shaded, then drybrushed a lighter tan.
★ Our pick for leather & pouches
Monument · Monument Pro Signature Series MPA-S25
Faces and hands. Basecoat, a flesh wash into the recesses, then build the highlights back up.
Citadel (Warhammer Paints) · Layer 99189951243
★ Our pick for skin & flesh
Army Painter · Warpaints
No shop price tracked yet — the paint’s page has every seller we find.
Lenses, eyes and energy. A bright spot colour that pops against the armour - dot it on and add a white glint.
Vallejo · Arte Deco
No shop price tracked yet — the paint’s page has every seller we find.
★ Our pick for eyes & lenses
Groundwork. Earth basecoat, drybrushed bone, finished with your choice of grass, sand or snow.
★ Our pick for basing — earth
Paint sets that cover this recipe - a set is usually cheaper than buying pots one by one.
50 paints
£136.00
£160.15-15%
Covers 8 of 11 paints in this scheme (73%) — base coat, layer, highlight, metal — trim and more.
Or cover 91% of the recipe with 2 boxes (£143.99 for 1 of the 2 — the rest are priced in dollars):
50 paints
£136.00
£160.15-15%
Tick off what's already on your shelf — whatever's left is your shopping list.
11 paints in this scheme
free UK delivery over £20
free UK delivery over £75, £3.99 below that
£4.99 UK delivery, 1-2 working days, free over £65
postage per seller
prices shown on Amazon at checkout
free UK delivery over £75, from £2.66 below that
totals excl. delivery · affiliate links
Imperial Navy
Army Painter
Leviadon Blue
Citadel (Warhammer Paints)
Macragge Blue
Citadel (Warhammer Paints)
Caledor Sky
Citadel (Warhammer Paints)
Baron Blue
Army Painter
Bright Gold
Army Painter
John Blanche Masterclass: Heavy Metal
Army Painter
Beasty Brown
Vallejo
Bestigor Flesh
Citadel (Warhammer Paints)
Yellow Ochre
Vallejo
English Uniform
Vallejo
Every Space Marines kit and box, priced
Prices compared across the shops that stock them — boxes ranked by cost per model.
Space Marines are the most painted miniatures in the hobby, and for good reason: large, clean armour panels make them an ideal canvas for learning the core techniques of basecoat, shade and highlight. The method below is chapter-agnostic - it is the same three steps whether your armour is blue, red, green, black or yellow, and the only thing that changes is which pot the basecoat comes out of. Pick your chapter's colour in the scheme generator and the recipe rebuilds itself around it.
Every chapter shares the same shape: hard, angular armour panels in one dominant colour, metal or contrasting trim, chapter markings on one shoulder, and bone or parchment purity seals. Whatever colour you choose should read rich and saturated rather than washed-out, with crisp edge highlights to define the plates - that contrast between flat panel and bright edge is what makes a Marine look like a Marine.
The recipe above gives you the full ramp, but the technique matters as much as the paints:
Every chapter is the same method with a different base colour. Open the chapter's armour colour in the scheme generator and the recipe rebuilds itself:
Recipes are generated by perceptual colour matching against our cross-brand paint database. Use them as a strong starting point and test paints in person when precision matters.