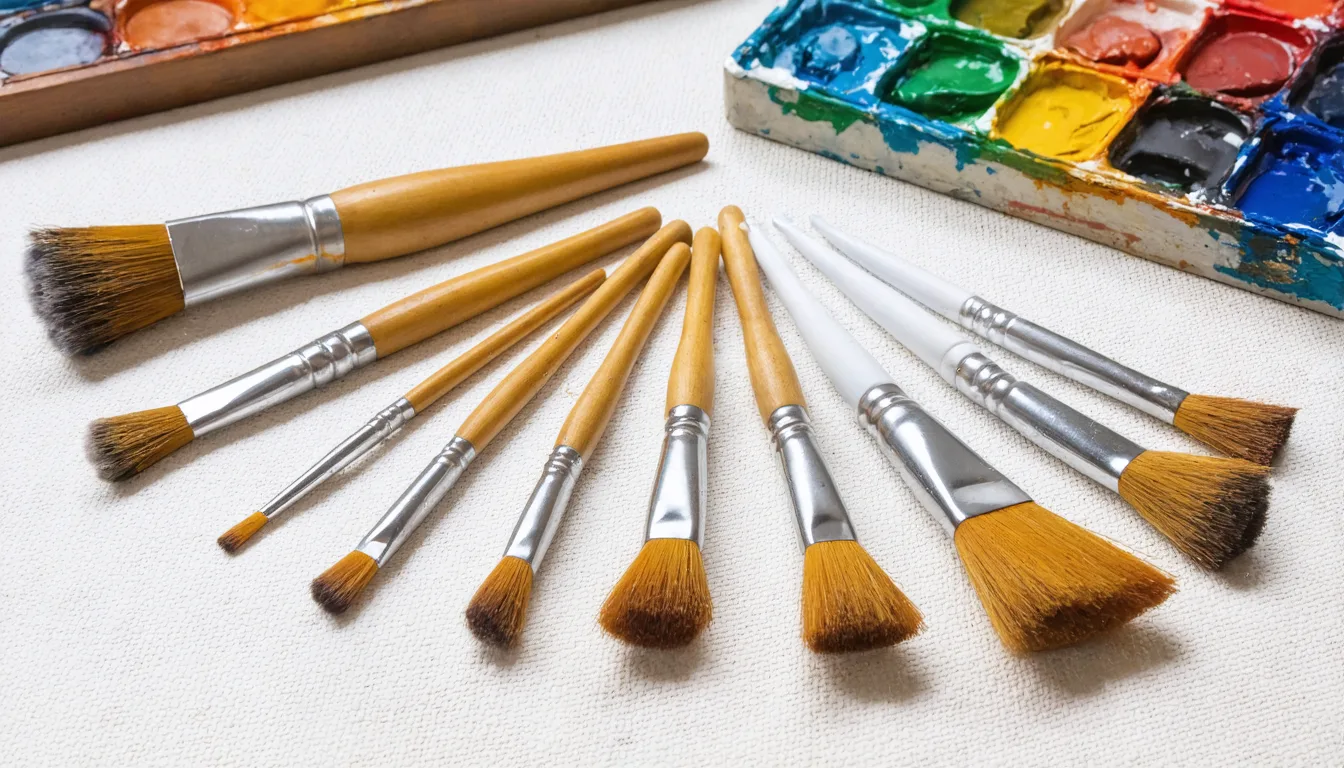
Miniature Paintbrushes
Every brush type explained, plus what makes a brush worth buying
Your brushes matter more than your paints. A cheap paint applied with a good brush will look better than an expensive paint wrestled onto a model with a frayed, split-tipped disaster. This guide covers every brush type you'll encounter in miniature painting, what each one is for, and how to tell a good brush from a bad one.
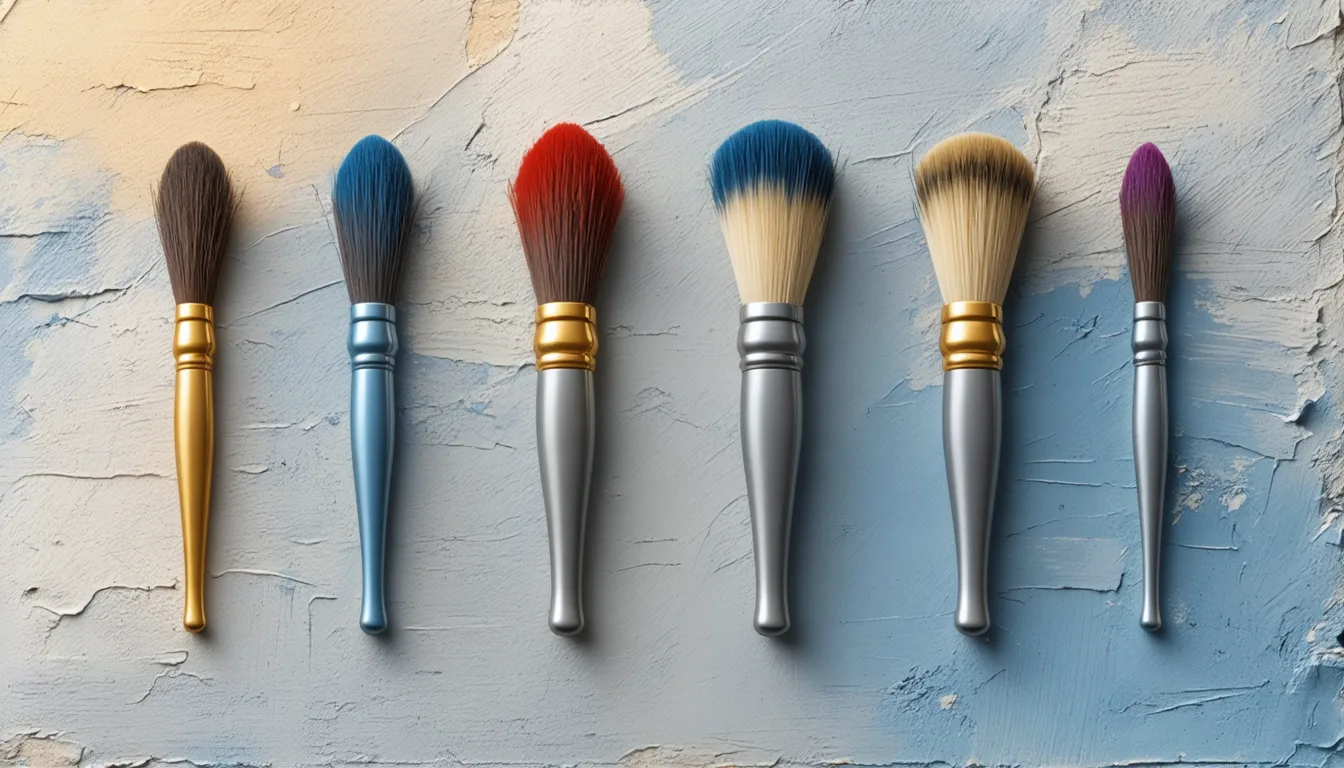
Citadel Brush Sizes Compared
Games Workshop labels their brushes with names like "S Base" or "M Layer" instead of numbered sizes. There is no universal brush size standard. A "size 1" from Winsor & Newton, Raphael, and Da Vinci will be three different physical sizes. The table below shows rough equivalences based on community comparisons, not official specs. Treat these as a starting point, not gospel.
| Citadel | W&N Series 7 | Army Painter | Use |
|---|---|---|---|
| XS Artificer Layer | 00 | Detail | Eyes, gems, the finest detail |
| S Layer | 0 | Character | Fine highlights, small details |
| S Base / M Layer | 1 | — | Layering, basecoating infantry |
| M Base | 2–3 | Regiment | Basecoating larger areas |
| L Base | 4+ | Monster | Vehicles, monsters, terrain |
These are approximate, community-sourced comparisons. Brush sizes are not standardised across manufacturers. A Raphael 8404 size 1 is noticeably larger than a W&N Series 7 size 1, for example. The S Base and M Layer are physically very similar in size despite having different names. When in doubt, buy from a shop where you can handle the brush, or order a single brush before committing to a set.
Round Brushes
The round brush is the workhorse of miniature painting. It has a pointed tip and a rounded belly that holds a decent reservoir of paint. You'll use this for 80-90% of your painting, from basecoating small areas to picking out details. If you could only own one brush, it would be a round.
Common sizes
Sizes 0, 1, and 2 are the most useful for miniatures. A size 1 or 2 with a good point can handle both broad strokes and fine detail. Don't fall into the trap of thinking you need a tiny brush for small work. A larger brush with a sharp tip gives you better paint flow and more control than a tiny brush that dries out after half a stroke.
Good for
- •Basecoating infantry and small to mid-sized areas
- •Layering and highlighting
- •Edge highlighting (with a steady hand and a sharp tip)
- •General-purpose painting at every skill level
Popular examples: Winsor & Newton Series 7, Raphael 8404, Artis Opus Series S, Broken Toad Mk3
 Winsor & Newton Series 7 — £23.99 →
Fine Detail / Spotter
Detail brushes (sometimes called spotters) have very short bristles and a sharp point. The short hair length gives you more control for precise work but holds very little paint, so you'll be reloading constantly. They're designed for the fiddly bits: eyes, gems, tiny insignia, and fine freehand.
Common sizes
Sizes 3/0, 5/0, and 10/0. These are genuinely tiny brushes. Many experienced painters will tell you that a good size 1 round replaces most of what people reach for a detail brush for. Use these when you truly need pinpoint accuracy on a minuscule area.
Good for
- •Eyes and facial details
- •Gemstones, buttons, rivets, and tiny details
- •Fine freehand designs
- •Precise dot application (pupils, light reflections)
Popular examples: Winsor & Newton Series 7 Miniature, Raphael 8404 size 3/0, Artis Opus Series M
Detail Brushes — £22.99 → 
Flat / Shader
Flat brushes have a rectangular, flat profile with a straight or slightly rounded edge. They're excellent for covering large, flat surfaces evenly, and their shape makes them natural tools for blending. In miniature painting they're less common than rounds, but invaluable when you need them.
Good for
- •Basecoating large flat panels (vehicle armour, shields, cloaks)
- •Wet blending and loaded brush blending techniques
- •Applying varnish evenly across a model
- •Terrain painting and scenery work
Popular examples: Citadel Medium Shade Brush (flat profile), Rosemary & Co Series 303, Army Painter Hobby Highlighting Brush
Flat Brushes — £10.98 → 
Drybrush
Drybrushes have short, stiff bristles that fan out into a flat, blunt end. They're purpose-built for drybrushing, a technique where you load paint onto the brush, wipe most of it off on a paper towel, and then lightly drag the brush across raised surfaces. The nearly-dry bristles catch on edges and textures, depositing a thin layer of paint that creates instant highlights.
Tip
Drybrushing is hard on brushes. Don't use your good sable rounds for drybrushing. Cheap synthetic drybrushes or makeup brushes work perfectly. Some painters swear by cheap makeup stippling sponges for the same effect with even less brush damage.
Good for
- •Rapid highlighting of textured surfaces (fur, chainmail, stone, bark)
- •Terrain and basing work
- •Quick tabletop-standard highlighting across whole units
- •Overbrushing (a slightly heavier drybrush for broader coverage)
Popular examples: Citadel Dry Brushes (Small, Medium, Large), Army Painter Drybrush, Artis Opus Series D
Army Painter Masterclass Drybrush Set — £17.50 → 
Wash / Mop Brush
Mop brushes are large, soft, round brushes with a generous belly that holds a lot of fluid. They're designed for applying washes and shades over large areas quickly and evenly. The soft bristles help the wash flow smoothly without leaving streaks or tide marks.
Good for
- •Applying washes and shades evenly across models
- •Contrast and Speedpaint application (where you need smooth, even coverage)
- •Glazing (applying very thin, transparent layers of colour)
- •Wicking away excess wash from flat surfaces
Popular examples: Citadel Shade Brush, Army Painter Regiment Brush, Artis Opus Series SZ
Citadel Large Shade Brush → Liner / Rigger
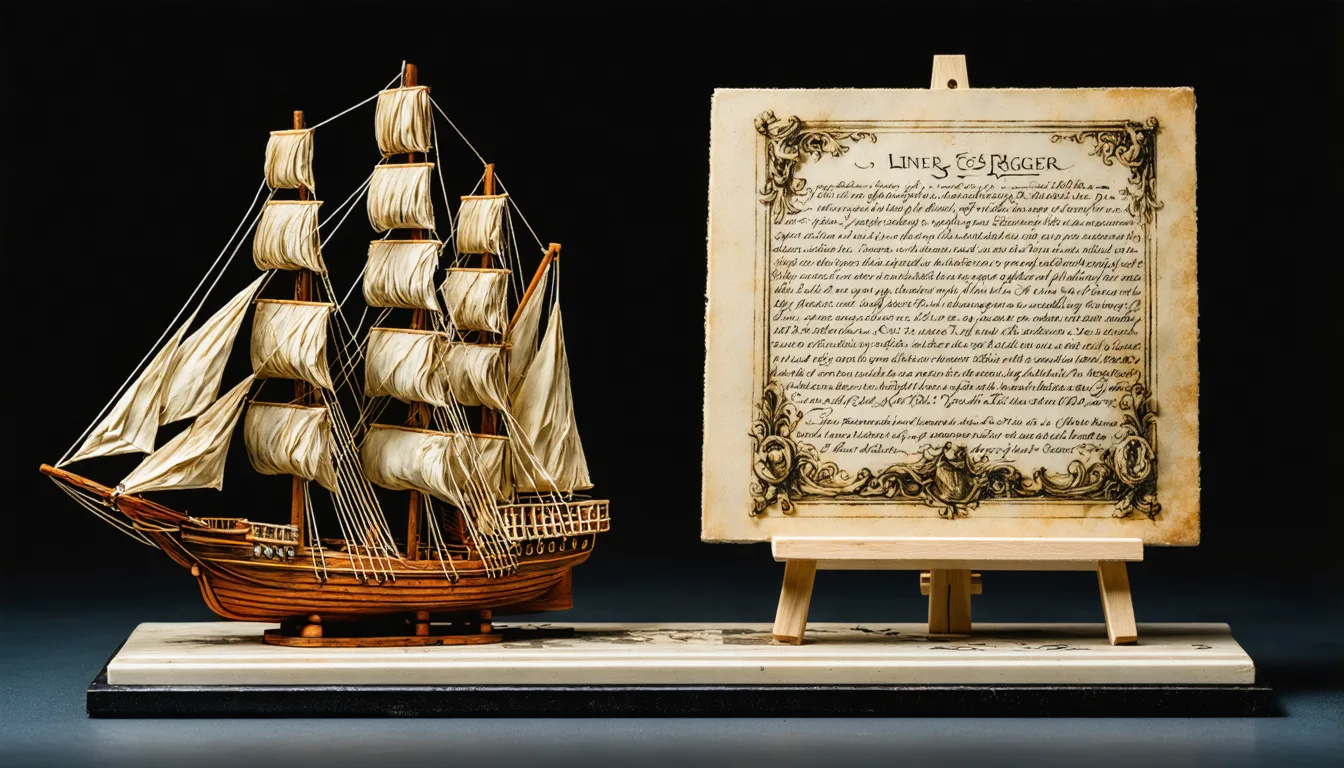
Liner brushes (also called riggers, originally used for painting the rigging on model ships) have very long, thin bristles. The extra length lets them hold a lot of paint relative to their width, which means you can pull long, continuous lines without reloading. They take some getting used to because the long hairs flex more than you'd expect.
Good for
- •Long, thin lines (pinstriping, script, scroll text)
- •Freehand designs, especially flowing patterns and lettering
- •Panel lining (drawing thin lines into recessed panel lines)
- •Edge highlighting along long, straight edges
Popular examples: Winsor & Newton Series 7 Kolinsky Sable Rigger, Da Vinci Maestro Liner, Rosemary & Co Series 33 Rigger
Winsor & Newton Series 7 — £23.99 → Stippling Brush
Stippling brushes are similar to drybrushes but with a flatter, more even tip. Instead of dragging, you dab them straight down onto the surface. This creates a speckled, textured effect that's brilliant for simulating rough surfaces, weathering, foliage, and rust.
Good for
- •Weathering effects (rust, grime, mud splatter)
- •Foliage and vegetation on terrain
- •Creating texture on cloaks, leather, and rough surfaces
- •Blood splatter and battle damage effects
Popular examples: Army Painter Stippling Brush, cheap flat synthetics with trimmed bristles work well too
Stippling Brushes — £6.59 → 
Fan Brush
Fan brushes have bristles that spread out in a flat, fan shape. They're a niche tool in miniature painting, mostly used for terrain and specific effects. The spread of the bristles lets you create soft, feathered textures.
Good for
- •Grass and foliage effects on terrain bases
- •Soft blending and feathering
- •Dust and weathering effects on vehicles
- •Applying flock and texture materials to bases

What Makes a Good Brush
Not all brushes are created equal. Here's what separates a brush that's a pleasure to paint with from one that fights you at every stroke.
Point / Tip
The single most important quality. When wet, a good brush should snap to a razor-sharp point with no stray hairs splitting off. This is what lets you paint fine lines and details, even with a larger brush. Test this in the shop if you can: dip the brush in water and flick it. If the tip splits or curls, put it back.
Belly / Reservoir
The belly is the thickest part of the brush head, and it acts as a reservoir that holds paint. A good belly means the brush delivers paint consistently to the tip without you having to reload every few seconds. This is why a size 1 or 2 with a good belly and point outperforms a 3/0 for most tasks. The larger brush holds more paint, keeps it flowing, and still has the same sharp tip.
Snap / Spring
Snap refers to how the bristles spring back to their original shape after being pressed against a surface. A brush with good snap gives you predictable, responsive control. When you press and release, the bristles should return to a point immediately. Brushes with no snap feel floppy and hard to control. Brushes with too much snap feel stiff and scratchy.
Bristle Material
For detail work and general miniature painting, Kolinsky sable is the gold standard. The natural hairs have microscopic scales that hold paint well, and their taper creates an excellent point. Kolinsky sable brushes are more expensive, but a well-cared-for sable brush can last years. Synthetic brushes have improved enormously and are a great budget option. They tend to have more snap but hold less paint. For drybrushing, stippling, and basing, synthetics are actually preferred since the techniques are rough on bristles.
Ferrule
The ferrule is the metal sleeve that holds the bristles to the handle. It should be seamless (no visible seam running down the side), tight around the bristles with no gaps, and securely attached to the handle. A loose ferrule means bristles will splay and the brush will lose its point fast. Avoid paint getting into the ferrule, as it will force the bristles apart and ruin the brush.
Handle
Less critical than the head, but comfort matters when you're painting for hours. Most miniature-specific brushes have shorter handles than art brushes, which gives better control at close distances. Some painters prefer triangular or ergonomic handles. It's mostly personal preference. Try a few and see what feels right.
Sable vs Synthetic: When to Use Each
This is one of the most common questions new painters ask. The short answer: use both, for different jobs.
Kolinsky Sable
- •Superior point and paint flow
- •Excellent belly holds more paint
- •Lasts years with proper care
- •Best for layering, detail, and blending
- •Higher cost (typically $8-20+ per brush)
Synthetic
- •More affordable ($2-6 per brush)
- •Good snap and spring
- •Better for rough techniques (drybrushing, stippling)
- •Good for metallics (metal flakes are harsh on sable)
- •Easier to replace without guilt
Starter Kit Recommendation
If you're just getting started, you don't need a dozen brushes. Here's a practical starting set that will cover the vast majority of miniature painting tasks:
- 1.Size 1 or 2 round (sable if budget allows) - your main brush for almost everything
- 2.Size 0 round - for detail work and tighter areas
- 3.Cheap synthetic drybrush - for drybrushing and terrain, don't waste money on an expensive one
- 4.Cheap synthetic round - for applying washes, metallics, PVA glue, and anything that's hard on brushes
That's it. Four brushes will handle everything from batch painting infantry to display-quality single models. Add speciality brushes later once you know which techniques you gravitate toward.
Recommended Brush Sets
If you'd rather buy a curated set than individual brushes, these are the best starter sets for miniature painters.
The Army Painter Mega Brush Set (10 Brushes)
The best all-in-one starter set. Includes 3 layering brushes, 2 drybrushes, 3 detail brushes, and 2 for large models.
Best for: absolute beginners, first brush purchase
£62.50 on Amazon → Warhammer 40,000: Paints + Tools Set
Citadel paints, brushes, clippers, and a push-fit miniature. Everything a Warhammer painter needs to get started in one box.
Best for: Warhammer painters following Citadel tutorials
£28.57 on Amazon → 
Rosemary & Co Series 33 Kolinsky Sable
The best value Kolinsky sable brushes. UK-based company with outstanding quality at a fraction of the price of Winsor & Newton. A hidden gem.
Best for: best value upgrade to natural sable
£64.73 on Amazon → As an Amazon Associate we earn from qualifying purchases.
Shop for Brushes
Ready to pick up some new brushes? Browse our partner retailers for brushes from Winsor & Newton, Raphael, Artis Opus, Army Painter, and more.
We earn a small commission from qualifying purchases at no extra cost to you.
Got your brushes sorted? Learn how to make them last with our Brush Care Guide, or head back to search for paints.